If you have opted to groom your pet’s coat yourself over regular (and pricy) trips to the groomers, then you are going to want a decent set of fairly heavy-duty clippers* – something you’ve probably never needed to before. Like most other tools, they require careful maintenance to keep them functioning well. Here we will take a quick look at how to clean clipper blades and the ways in which you ensure your dog clippers last a good long time.
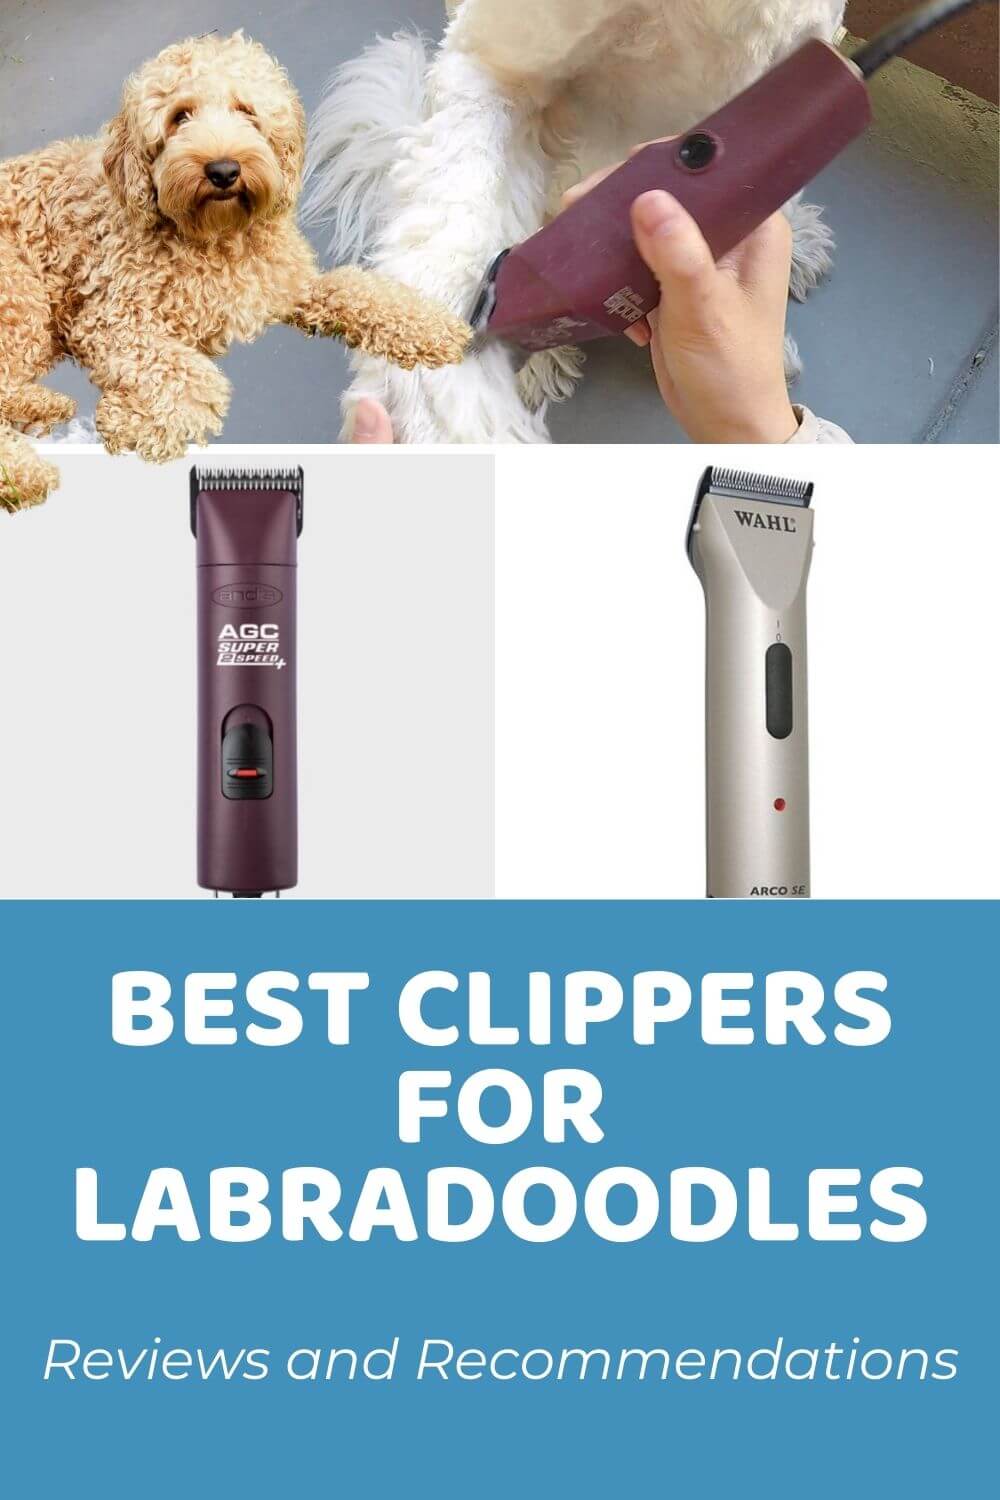
*For us, Andis AGC Super 2-Speed Clipper is the very best option for these dogs, and you can see all the reasons why we think so right here.
Why is it Important to Clean Your Dog Clippers Regularly?
Frequent cleaning of your clippers is vital for keeping them in good working order. Hair clippings, dirt, and other things can accumulate not just in the teeth of the blades but deep down in the body of the clippers themselves. This can clog everything up and prevent the clippers from running effectively. You will be faced with costly repairs, parts replacements, or you will have to fork out for a brand new set of clippers way ahead of time.
Even if the clippers do keep running, hair and dirt accumulated on the blades seriously reduces their effectiveness. They become dirty, dull and the resulting poor clipping function makes for more friction, leading to overheating of the blades, uneven cuts, painful pulling and tangling of your pup’s hair, and an overall slower grooming time as you will have to stop the clippers every few minutes to deal with these issues.
Precautions and Safety Tips
Before using the clippers, there are a few general maintenance checks you should carry out to ensure they are in good condition.
-
Tip #1:
Inspect the cord for any signs of damage, the blades for noticeable rusting, and the blade holders so you can be sure they are secure.
-
Tip #2:
During use, pay attention to how hot the blades are becoming, especially during intensive grooming. You might need to turn the clippers off for a bit, switch out the blade, or use a cooling spray. In this case, you will need to spray the front of the blade, not the cutting edge, allow it to work its magic for a minute or two, and then wipe away the excess fluid.
-
Tip #3:
Aside from being careful of the blades themselves when cleaning your clippers, it’s a good idea to unplug corded clippers and remove the battery of cordless ones to avoid them accidentally switching on as you are dismantling the clippers to remove hair cuttings from inside the mechanism.
-
Tip #4:
Be sure to wash the clippers with a cleaning fluid specifically designed for this purpose. Keep the blade section angled down to ensure that no moisture enters the main electrical parts of the clippers. This could damage the clippers or, even worse, give you or your pet a nasty shock.
The Basics of Clipper Care
As outlined above, your clippers are going to need regular maintenance. As you will be clipping your pup every 7-10 weeks for best results, we recommend cleaning them each time you use them. That way, they will be ready for you the next time you need them. This takes just a little bit of the hassle out of what can, unfortunately, often be a tricky, tedious task.
As well as removing any hair and dirt from the blades and the cutting mechanism, you are also going to need to disinfect your clippers (as you should with all your grooming tools) to prevent bacteria from growing here. You will then need to oil the blades to keep them clean and well-lubricated, which will ensure they remain free from rust and function well the next time you need them.
Tools You Will Need for Cleaning Your Dog Clippers
Luckily, you don’t need much to keep your clippers in pristine condition. Often manufacturers supply the basics with the clippers themselves. If not, don’t worry; you’ll easily be able to pick up something suitable online.
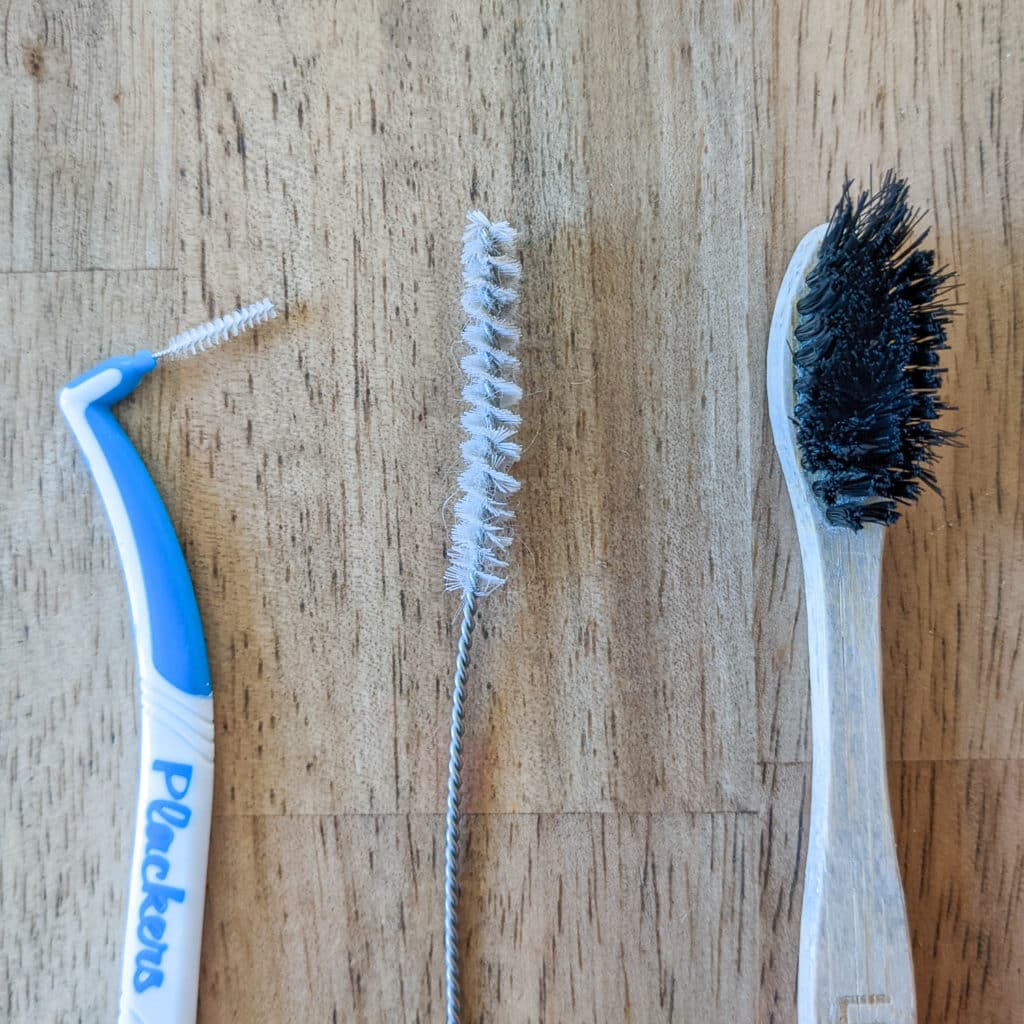
A clipper brush for brushing out hair and dust. If one hasn’t been supplied for you, an old toothbrush, pipe cleaner, interdental brush – basically anything with bristles – will usually do the trick.
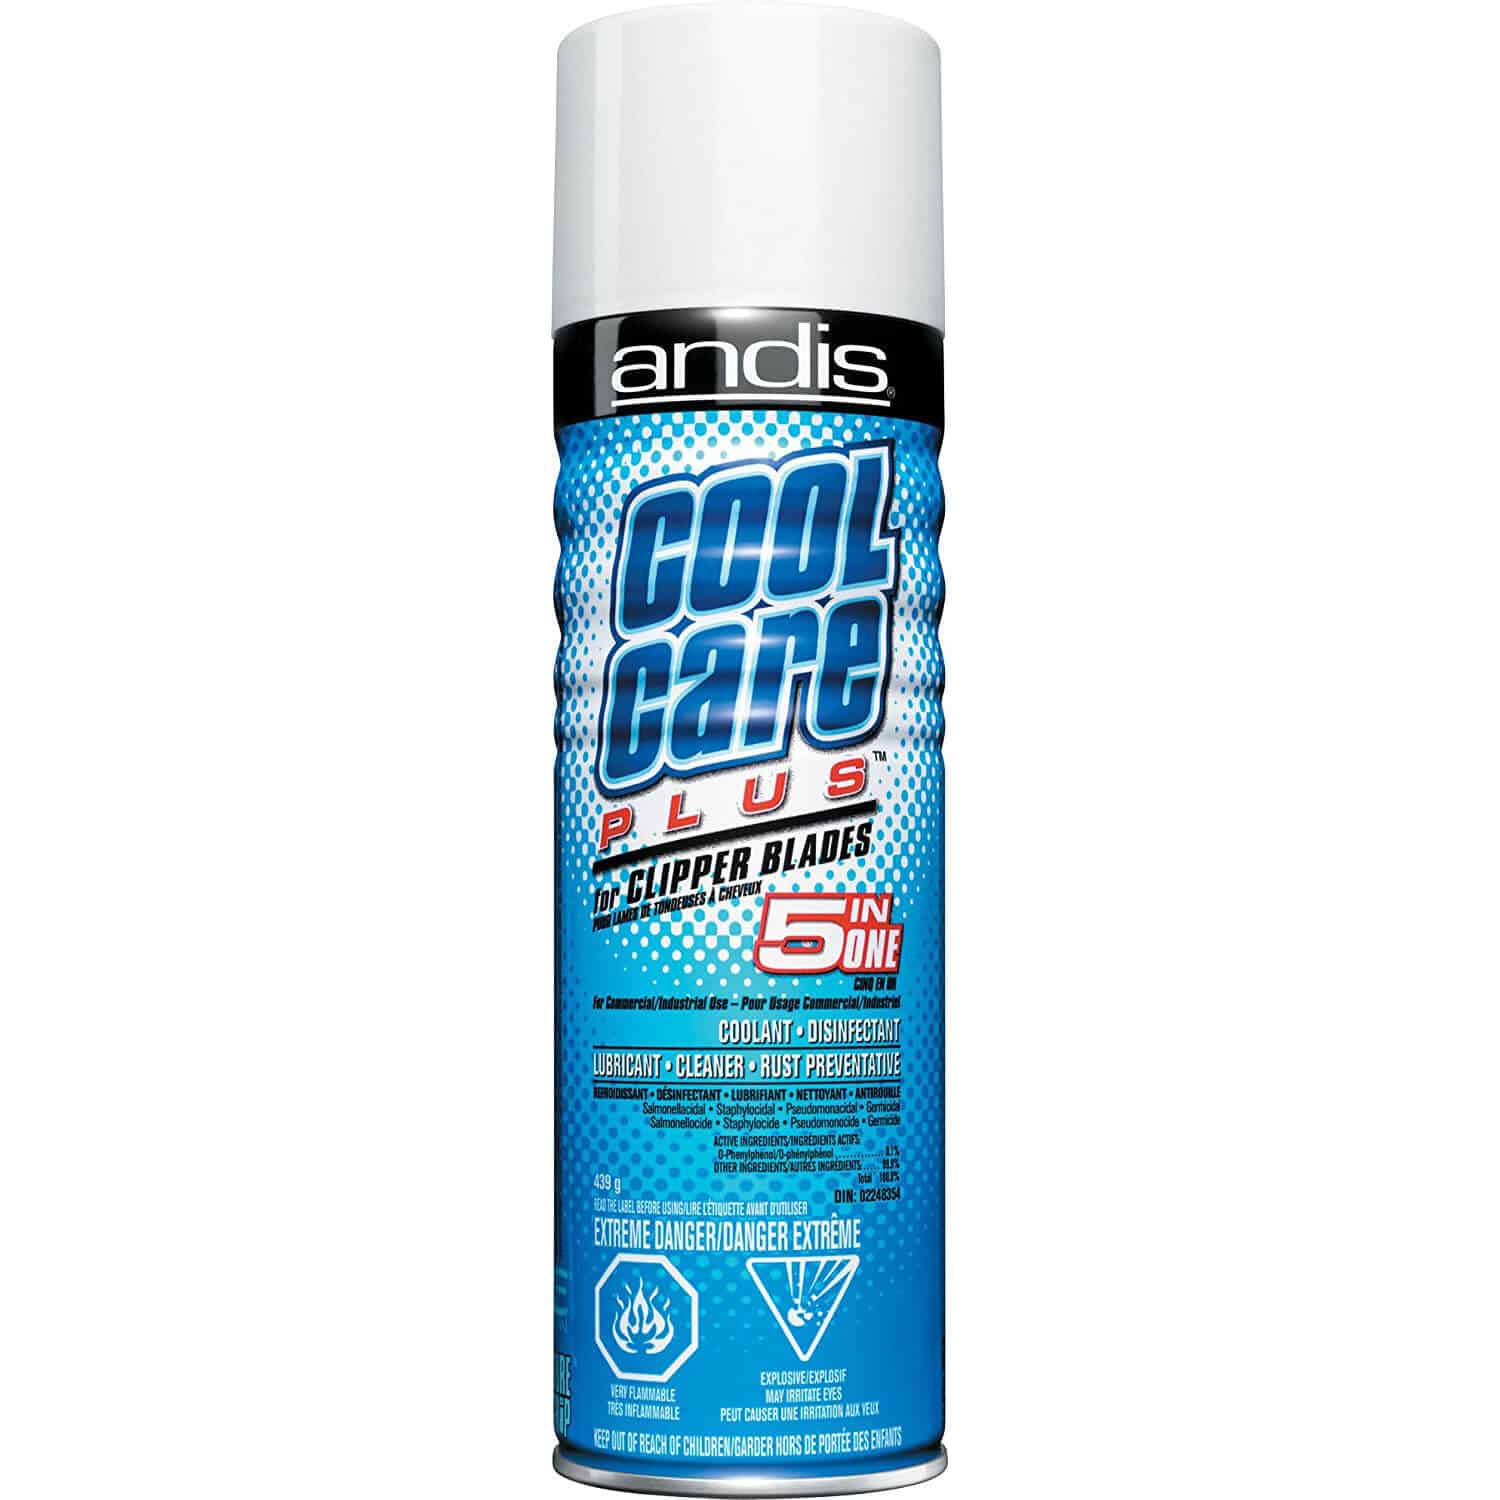
A cleaning solution that is specifically designed for cleaning blades. Plus, a small container to put it in.
Disinfecting spray to eliminate any bacteria. These are often multifunctional, helping with cleaning, keeping the blades cool, and more.
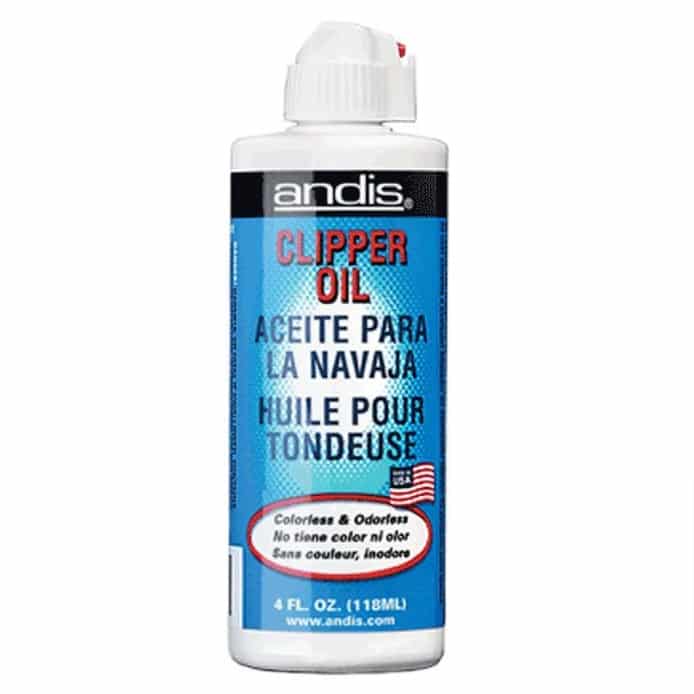
Clipper blade oil. Again, it should be specifically for this purpose. It will usually come in an easy-to-dispense bottle that will allow you to place just a tiny amount right onto the blades.
A word of caution. Take care which chemicals you are using on your blades. Some types of cleaners aren’t suitable and could cause damage. Check the instructions provided by the manufacturer to see if they have any specific recommendations. Using the wrong products could invalidate your warranty.
A Step-By-Step Guide to Cleaning Your Dog Clippers
So make sure that your clippers are (initially) unplugged or that their power source has been removed. You will then:
Clean them
Starting with the blade brush, wipe away any hair clippings that are caught up in the teeth of the blades or down in the blade drive. If you have a clipper with detachable blades, remove them and get right down into the nooks and crannies of the clipper to remove as much as you can this way. Aim to be as thorough as possible.
Next, pour the cleaning solution into the container and submerge the blades while they are in the clippers. Take care not to put so much of the clippers into the solution that there is a danger any of it will seep into the electrical areas. You will then need to run the clippers for a few seconds so that the solution gets to every part of the blades.
Turn off the clippers and remove them from the solution. Again unplug them or remove the power source so that you can safely dry the blades. While it’s fine to air dry your clippers, it’s better to pat them dry so that you know all moisture has been removed and there’s no chance of them rusting while stored away. The handle you can then wipe down with a damp cloth.
Disinfect them
You can then spray the clippers with a specially designed disinfecting spray to remove any residual bacteria. Take care to hold the unplugged clipper with the blade angled downwards and spray the solution directly onto the blades. Let it sit for a couple of minutes, and then carefully wipe the excess away with a clean, soft, and dry cloth.
Oil them
Finally, you can apply the clipper oil – again with the blade teeth pointed downwards. Place three drops of the oil along the top of the blade teeth at the top left, right, and center of the blade. Then one drop at either side of the bottom of the blade. Any more than this will just go to waste.
Let the clipper run for a few seconds to distribute the oil and let it work its way down in the blade set. Again, wipe away any excess oil with a soft, dry cloth. Oiling the blades before popping them away keeps them protected against moisture in the air. It also means that they will be well lubricated when you need to use them again, so the kind of friction that creates coat pulling and heating of the blades can be avoided.
Store them
Once your clippers are cleaned and oiled and all good to go for the next time you need them, you’ll want to ensure they are stored in a cool, dry place out of harm’s way. If your clipper has detachable blades, it’s best to remove these and store them separately. You will likely have more than one if you like to keep a spare or cut different lengths for your pet’s body and face. In this case, it’s a good idea to have a blade case that will keep them clean, dry, and all together.
If you are using corded clippers, you’ll want to pack them carefully to ensure you do not damage the cable. Generally, people wrap cords around the electrical item for storage, but this is not a good idea. The resulting strain, over time, could lead to loosening of the wires within, meaning that when you want to use them again, they might not work. Instead, coil the cable carefully and place next to the clippers.
Additional Maintenance
Aside from cleaning your clipper blades and keeping them well oiled, there are a few other maintenance tasks that will ensure your clippers function as you need them to. For instance, you should always inspect cords, batteries, and the mechanisms for signs of damage both before you put them away and before you plug them in to use them.
Check also the clippers’ locking parts, including the area you attach the blades to – the drive, hinge, and lock on a regular basis. You should be looking for any wear and tear that may impact their functionality. You also need to frequently run your eye over the blades themselves, as well as other metallic parts of the clippers, for any evidence of rust or that they have become damaged or degraded in any way.
If you notice during use that the clipper blades become stuck, pull on the coat, or are simply not moving as freely as before, they might need a little more lubrication. Coat the blades with oil, wrap them in an absorbent paper towel and store them for 24 hours to let the oil soak in a loosen things up a bit. Give them a thorough clean to remove any dirt or debris, and they should be good as new. If not, the blades might not be sharp enough for grooming. In this case, you may opt to have a professional sharpen the blades for you.
Frequently Asked Questions About Dog Clipper Care
How can I clean my clippers at home?
It really is very easy to keep your dog clippers clean. All you need is a brush (an old toothbrush works well for this), a suitable cleaning solution, a soft cloth, and some clipper oil. Simply brush the hair from the blade and inside the cutting part of the clippers, submerge the blades in the cleaning solution, run them for a few seconds, disinfect and dry the blades, and then apply an oil that will help keep them rust-free during storage.
What can I use to clean dog clippers?
While you may feel tempted to dip your clipper blades in water or run them under the tap to remove the hair and quickly and easily wash excess hair down the drain (not to mention to save cash on proper cleaning solution) you should avoid doing this. Any water on the blades will increase the chances of them rusting. Always use products that have been specifically formulated for the purpose of cleaning clipper blades.
How often should dog clippers be cleaned?
You should absolutely be cleaning your clippers every time you use them. This will typically be every 7 to 10 weeks, depending on how often you cut your pup’s coat. If you have not used your clippers for an extended period, for whatever reason, it’s a good idea to give them a thorough clean and oil before you use them again – just to be on the safe side.
Caring for your Doodle’s lovely coat can become more tedious than you know if you don’t have the right tools. High-quality dog clippers will make all the difference on grooming day – but only if you take very good care of them. Luckily it doesn’t take much; just a few touches and a careful eye, and your clippers will take all the work out of keeping your pet’s hair in excellent condition for many years to come.
Want to Learn
DIY Doodle Grooming?
 “Every concern and question I had now has clear, practical solutions.” – Paula D.
 “These lessons have provided tremendous amounts of information.” – Steve B.
 “Buy the course and complain about how easy it is!” – Chris S.
Learn How To Groom Your Doodle At Home…
Safely…And Without Confusion:

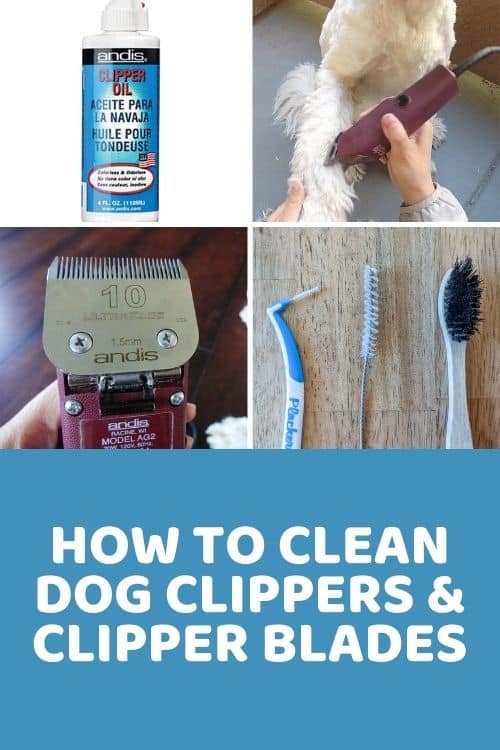
We like to use a little brush to help ensure that we keep up the cleanliness and sharpness of our clippers!
November 17, 2022 at 12:23 pm