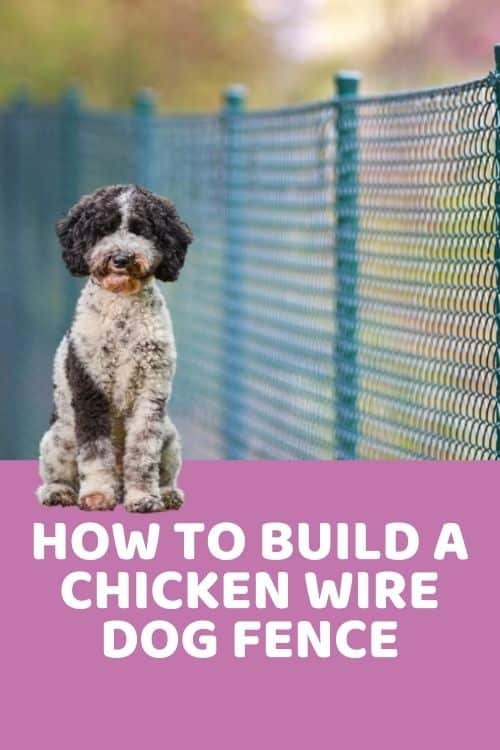
A big fenced backyard is a total must-have for any larger and more energetic Doodle that enjoys running, playing, digging, and basically anything that involves outdoor activities. Using a chicken wire for dog fence is a simple and economical option that many dog owners prefer.
In this guide, we’ll teach you how to install a chicken wire fence for dogs so you can make sure that your pup has a special, dedicated play area right there in the safety of your backyard. Let’s dive in!
Table of Contents
- Chicken Wire For Dog Fence: What It Is & Why You Should Have It
- DIY Chicken Wire Fence: Pros & Cons
- How To Install A DIY Chicken Wire Fence For Dogs
- Chicken Wire For Dog Fence: FAQ
- Chicken Wire For Dog Fence: Final Thoughts
Chicken Wire For Dog Fence: What It Is & Why You Should Have It
Dogs thrive on playing outside and discovering everything that the world has to offer. Naturally, this also comes with the added responsibility of keeping your dog safe and your neighbors happy.
So – chicken wire for dog fence – how does it work exactly? A chicken wire, as you might guess, has long been used to confine chicken and other poultry. However, chicken wire can be used for a variety of purposes and it’s become one of the most popular and cheapest options for fencing. It’s also commonly used in landscaping as a means to protect plants from animals or environmental factors.
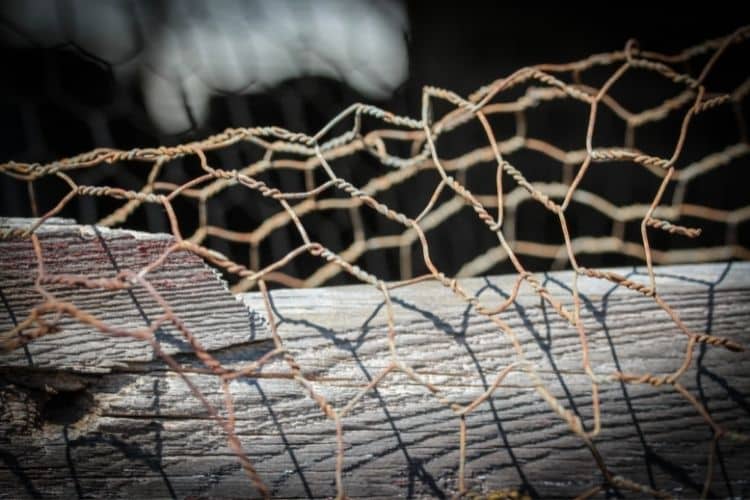
Chicken wire is also extremely easy to maintain and typically withholds all types of weather. There’s very little maintenance involved and installing it is not that tricky either.
A chicken wire dog fence is a great option if you have a spacious backyard, but don’t want your Dood getting lost and being nosy in your neighbors’ backyards. In addition to that, it will also keep your pup safe from wild animals, or away from other pets and people who aren’t exactly welcome near your home. This is particularly important if your dog hasn’t had their spay or neuter surgery just yet.
You can also use a chicken wire dog fence to build a separate section in your backyard for your Dood for their fun doggy activities, especially if you have some gorgeous (or maybe even toxic) plants growing there. We all know how much dogs love to destroy those beautiful hard-built gardens!
There are various purposes for which you can use a chicken wire dog fence. But most importantly, a chicken wire dog fence is an easy and simple solution to keep your pup safe and out of harm’s way.
DIY Chicken Wire Fence: Pros & Cons
Installing a chicken wire for a dog fence is a great solution for many. But as with anything, it does come with its advantages and disadvantages. Let’s take a closer look.
Pros
- DIY chicken wire fencing for dogs is a cheap alternative to a professionally built and installed traditional fencing.
- Super easy to install, even for novice builders.
- Installing a dog fence prevents your pup from getting lost and keeps them from unfortunate accidents on the streets.
- It keeps dangerous people and other animals away from your dog.
- A chicken wire fencing for dogs will protect your plants and lawn by providing your pup a dedicated play area.
- It’s also a great way to prevent your Dood from ingesting any poisonous or toxic plants you might have growing in your garden.
- The holes in chicken wire are typically small enough so your dog’s paws won’t fit into them and he won’t be able to climb over the fencing.
- If built properly, a chicken wire dog fence will last you for years and it requires very minimal maintenance.
Cons
- Although installing a chicken wire for a dog fence is generally easy for most people, it might be a bit too much trouble if you don’t enjoy building stuff with your own hands.
- A chicken wire dog fence has to be built properly for it to withhold your dog’s weight.
- You want to make sure that the chicken wire dog fence is at an appropriate height so your dog won’t be able to jump over it.
- Chicken wire fencing for dogs might not be the best option for very large backyards. After all, it does require some work and physical effort to install it.
- Snakes, insects, and weeds can still wiggle their way through the holes in the fence.
- If the holes in the chicken wire aren’t small enough, your dog may be able to escape by climbing over it.
How To Install A DIY Chicken Wire Fence For Dogs
Now that we’ve covered the basics, let’s learn how to build a DIY chicken wire fence for dogs.
First things first, you want to have a solid plan and make sure you have all the necessary tools and items for the fence. For that, you need to figure out where you want to build the fence and how big it should be. Then decide what method you prefer, or maybe you already have some chicken wire fence ideas. Do you want to use a wooden frame or metal stakes when installing the chicken wire for the dog fence?
For instance, the wood frame option is more durable, but also more aesthetically pleasing. On the other hand, using metal stakes is a simpler option that anyone could manage. First we’ll cover the wooden frame method and then we’ll move onto the chicken wire dog fencing with metal stakes.
Installing Chicken Wire For Dog Fence: Wooden Panel Method
This method is slightly more advanced, but even first-time builders can easily achieve this masterpiece. Here’s how.
For This Method, You’ll Need:
- A measuring tape
- Screws and an electric screwdriver
- Nails and a hammer or a wood stapler with staples
- A posthole digger or an auger
- A saw
- Rolls of heavy-duty chicken wire with appropriately sized holes
- 4 x 4 fence posts
- 1 x 4 or 2 x 4 boards
- Gate hinges and a gate latch
- Optional: Concrete
How To Install A Chicken Wire Fence For Dogs With The Wooden Panel Method: Step-By-Step Guide
- Plan your fence and take measurements. Plan out where you want to install the chicken wire dog fence and mark the area with either spray paint or with small stakes. Then take measurements of the area so you’ll know exactly how much chicken wire and how many fence posts you’ll need.
- Mark the spots for fence posts and the gate. You should place fence posts about 6 to 8 feet apart.
- Cut the boards and fence posts. Consider your dog’s height (and also the height of the chicken wire) and cut the fence posts to your desired length. However, don’t forget that the fence posts need to have at least an additional 2 feet, which you’ll bury into the ground. Once you’ve measured the distance between each fence post, cut the boards to the appropriate length.
- Dig holes and install the fence posts. Dig the holes and place the fence posts where you previously marked the spots. The best way to do it would be with an auger or a posthole digger. The holes should be about 2 to 3 feet deep. Don’t forget to tightly secure the fence posts with dirt. You can also use concrete to secure the fence posts – just fill the hole with concrete and add in some water (make sure to check the instructions on the packaging).
- Install the chicken wire. Unroll the chicken wire on the exterior part of the fence and attach it to the fence posts from the top, middle, and bottom so that the wire is safely secured onto each post. Be sure to roll the chicken wire out tight so it stays nice and sturdy. You can use either screws, nails, or a wood stapler to secure the chicken wire onto the posts. You’ll want to bend the nails or screws horizontally over the chicken wire so it stays tightly attached to the fence post.
- Attach the top and bottom wood panels. Place the boards on the chicken wire fence exterior and attach them horizontally to the fence posts with either screws or nails.
- Build the gate. Use the wood boards and create a rectangle or a square (based on your previously taken measurements) wood frame by securing the boards together with nails or screws. Then attach the chicken wire like you did previously with the fence posts. Be sure to bend the sharp edges of chicken wire away from the edge.
- Attach the gate. Screw the hinges onto the fence post and the gate. Then secure the gate latch on the other side of the gate and the fence post next to it.
Installing Chicken Wire For Dog Fence: Metal Stake Method
A simpler method of installing a chicken wire for a dog fence is with the metal stake method. If you’re not keen on cutting wood boards and screwing them together, then this option will be much easier and it works just as well keeping your pup safe.
For This Method, You’ll Need:
- A measuring tape
- A post driver
- Metal T-posts
- Metal wire to secure the chicken wire to the metal posts
- Rolls of heavy-duty chicken wire with appropriately sized holes
- A premade chicken wire gate
How To Install A Chicken Wire For A Dog Fence With Metal Stakes: Step-By-Step Guide
- Plan your fence and take measurements. Similarly, plan the area where the fence should be, including the gate, and mark the location.
- Mark the spots for the fence posts and the gate. Place the fence posts about 6 to 8 feet apart.
- Install the fence posts. Use the post driver and install the metal posts about 2 to 3 feet deep. Again, secure them tightly with dirt.
- Install the chicken wire. Stretch the chicken wire along the exterior of the fence and secure them with metal wires from the top, middle, and bottom of the metal posts.
- Attach the gate. Using metal wire, attach the premade chicken wire gate onto the metal posts.
Tips To Install A Chicken Wire Dog Fence
To make this process go smoothly, here are some useful tips for installing a chicken wire dog fence:
- Always use caution and follow safety measures when using tools like saws, hammers, screwdrivers, nails, screws, and wood staplers.
- You should place your fence posts 6 to 8 feet apart so that the chicken wire will stay sturdy and withhold the weight of your dog. However, you can also place the fence posts even closer together for a stronger fence.
- Consider having someone to help you install the chicken wire for the dog fence. One of you can hold the roll of chicken wire while the other can stretch it tight onto the fence posts.
- If you’ve got an avid digger, you can bury an additional foot of chicken wire at the base of the fence. Of course, make sure you roll the sharp edges away from your pup’s play area.
Chicken Wire For Dog Fence: FAQ
How Can I Make An Inexpensive Fence For My Dog?
The most cost-effective option would be to install a chicken wire for the dog fence. It’s also one of the easiest methods and you don’t have to be an experienced builder to install chicken wire dog fencing.
How Do You Make A Chicken Wire Fence?
First you’ll want to plan the fencing and take measurements of the area. Then you’ll place either wooden fence posts or metal posts about 6 to 8 feet apart and roll the chicken wire on the exterior of the posts. Be sure to secure the chicken wire with either screws, nails, a wood stapler, or metal wire, depending on whether you use wood fence posts or metal posts. Lastly, you’ll attach the gate to the metal posts.
Can Chicken Wire Hurt Dogs?
Using a chicken wire for a dog fence is generally a safe option. However, you’ll also have to practice safety measures, such as bending the sharp edges of the chicken wire away from your dog’s play area .
How Do You Keep Dogs From Digging In Chicken Wire?
A simple trick to prevent your dog from digging itself free underneath the fence is to bury an additional foot of chicken wire underneath the ground. Again, you want to make sure that the sharp edges are bent towards the exterior of the fencing so your dog won’t accidentally hurt itself if they do decide to dig there.
Chicken Wire For Dog Fence: Final Thoughts
A chicken wire dog fence is a simple and inexpensive solution that provides your pup a safe play area. All of the necessary tools and items are readily available in your local hardware stores and the installation doesn’t require too much effort, either. We hope you learned some useful tips and tricks from this guide on how to build a chicken wire dog fence so your Dood can have a safe space to roam around.