Hey Doods! Today we are going to give you some tips so you can achieve a successful full-body groom in the comfort of your own home.
See Also:
(Click the image)
Tip #1: Plan for a half-day, at least…
The one reason that always tempts me into just bringing Chloe into the groomer is that doing it myself usually takes me around 3-4 hours! Plus, I am usually just mentally done with the process around hour 3, so I end up grooming the paws and nails the next day, which takes around another hour. So, if you want to do it yourself and do it right, I’d say plan for nothing less than 4 hours for a full body groom. But if you’re thinking “time is money”, then you’ll have to decide whether spending 4+ hours is worth your time vs. just paying someone to do it and calling it a day.
Tip #2: But first, Line-Brush
Before starting the shave, the very first thing I do is line-brush Chloe. This is a REALLY important step, especially for all long-haired Doodles, because doing this will help you see if your dog is really matted. Also, when it comes time to clip the coat, the clippers will glide more easily through it and won’t have to work as hard.
How to Line Brush
I take my brush and start at the end or bottom of her body and brush one line of hair at a time, gradually working my way up. When brushing, you have to brush all the way down to the skin. If you can’t see skin when brushing, that means your dog has matted hair.
Now because Chloe’s hair is always short and rarely matted, we can usually get away with using a pin brush. However, if you are grooming a dog with long hair you should definitely use a slicker brush as well as a greyhound comb. Here is a slicker brush and a metal comb that tons of pro groomers recommend, especially for Doodles.
Tip #3: Tether your dog
If you can leash your dog, do. 🙂 Better yet, tether them on top of a grooming table, which will not only restrain your pup, but will save your back, as well. Thank me later.
See Also:
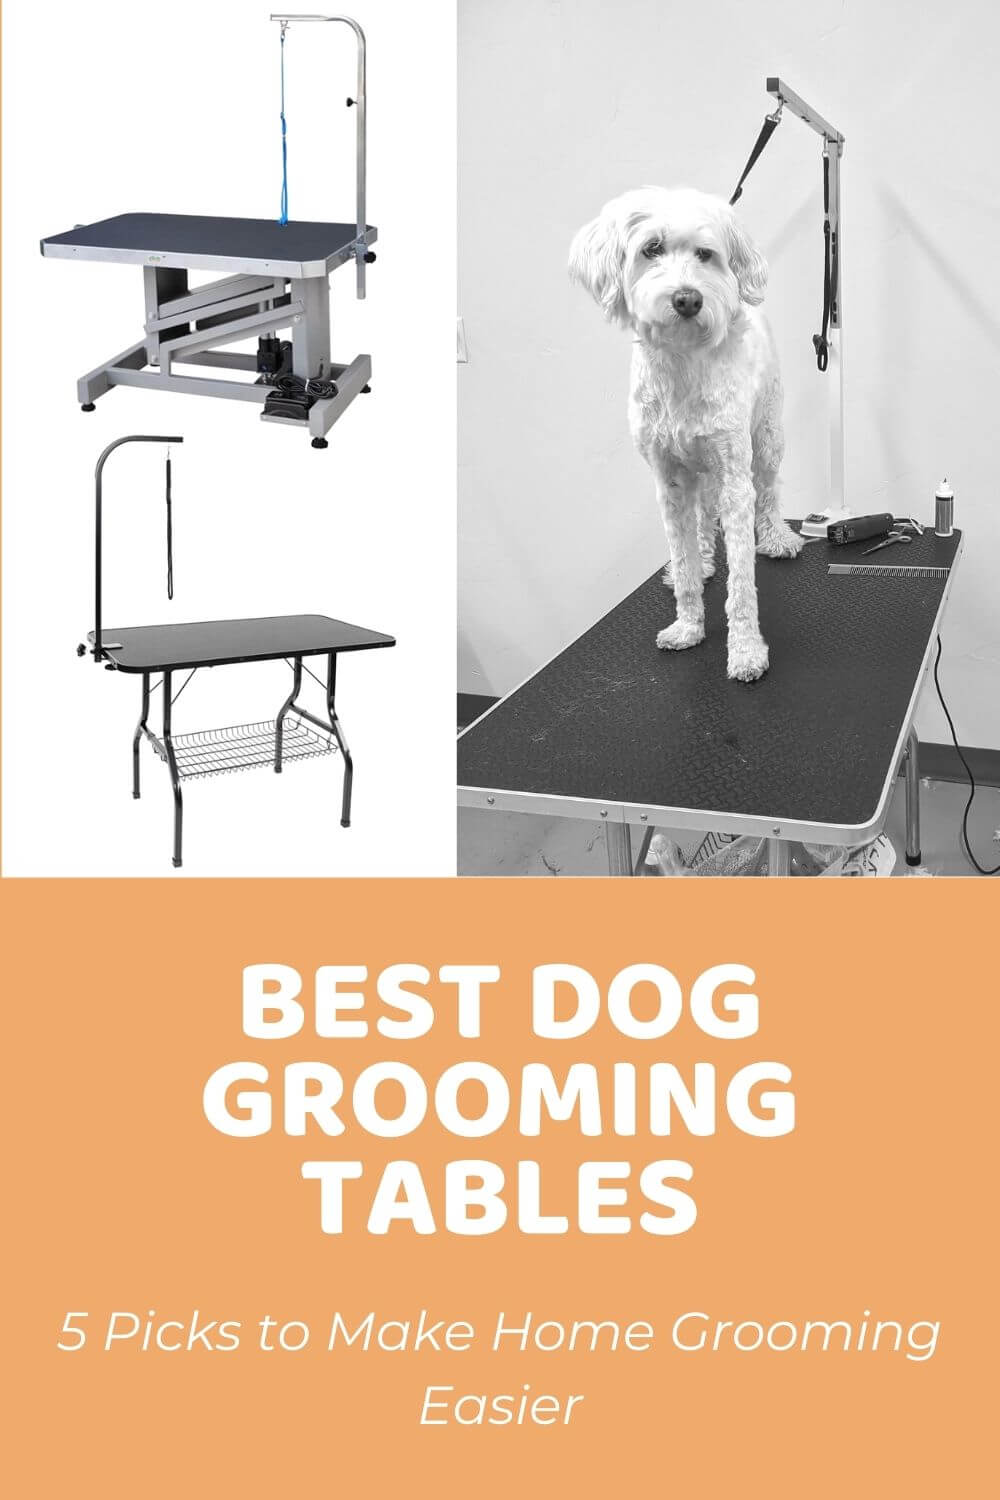
(Click the image)
Tip #4: Groom outside
If you can groom outside, the clean up part won’t take up too much of your time. You could also groom in a garage or unfinished basement.
Side note, make sure you wear clothing that you don’t mind getting dirty and hairy!
Tip #5: Set the mood
I like to put on some nice classical music to help calm Chloe’s nerves and make it a somewhat enjoyable experience for the both of us.
Tip #6: Feel the blade
During the grooming session, make sure to periodically check the temperature of the clipper blade with your hand. A metal blade doing all that work WILL get hot, and fast.
The last thing you want is for your dog to get burned and injured! If the blade feels uncomfortably hot to you, it is uncomfortably hot to your dog.
If that’s the case, take a break and let the blade cool down for a few minutes, or exchange it for another blade of the same length if you have one. I only have one of each size blade, so I use it as an excuse to take a short break.
To speed up the cooling, I use the Andis Cool Care cooling spray which not only cools the blade, but also disinfects, lubricates, cleans, and prevents rust.
Tip #7: Apply clipper oil frequently
If you care about your clipper and clipper blades – which you should, since you probably spent decent money on them – you should apply clipper oil to them frequently throughout the grooming session. Applying clipper oil can also save you a little bit of time, as the oil allows the blades to run smoothly for longer without getting too hot.
I will do it just before starting the groom, and each time we are coming back from a break.
Here’s how I do that
I first apply clipper oil directly to the blade. I turn on the clipper for a split second to distribute the oil, and then I wipe off the excess oil with a dry cloth. I actually have another video on clipper blade cleaning and maintenance for before, during, and after a groom, so be sure to check that video out, too.
Tip #8: Brush it out
When the blade gets hot and we need to take a break, sometimes I will run the pin brush through the area I just shaved so I can get all the loose hairs out and see if there are any spots that need retouching.
Tip #9: Acknowledge when it’s too much
If at any point during the groom you or or dog become too uncomfortable, whether physically or mentally, just stop. No one wants a hurt dog or traumatizing experience. Either take a break and give your dog some lovin’, or consider having a professional finish the job.
Tip #10: Remember to have fun
Whatever your personal reasons for wanting to groom your own dog, remember to have lots of fun doing it! It’s really important that you also give your dog a really good experience, too, otherwise she may not allow you to do it again in the future. Also, if you’re just starting out, take practicing seriously, but remember that perfection is the enemy of progress. Even now that I’ve been doing this myself for about 5 years now, I still don’t have it down 100%. So don’t beat yourself up if you fumble around, take way too long on a certain area, or miss a few spots. Chances are no one will notice your mistakes. Just focus on having a good time and helping your dog have a great experience, too!
Did you find our top 10 tips for grooming your dog at home helpful? What tips would you add? Tell us in the comments below!
Want Step-by-Step Guidance on DIY Dog Grooming?
Check out The Doodle Doods DIY Dog Grooming Blueprint!
I invested in a grooming table, and it’s made a huge difference! I’m disabled, so bending over to groom my boy is very difficult. I trained him to hop up on the table (or if you want to really splurge you can get a lift table), and it’s now super easy to get him brushed out and get his nails done. When it’s clipper time, I can tie him to the bar so he holds still, and it’s much easier for both of us.
March 30, 2022 at 6:55 am