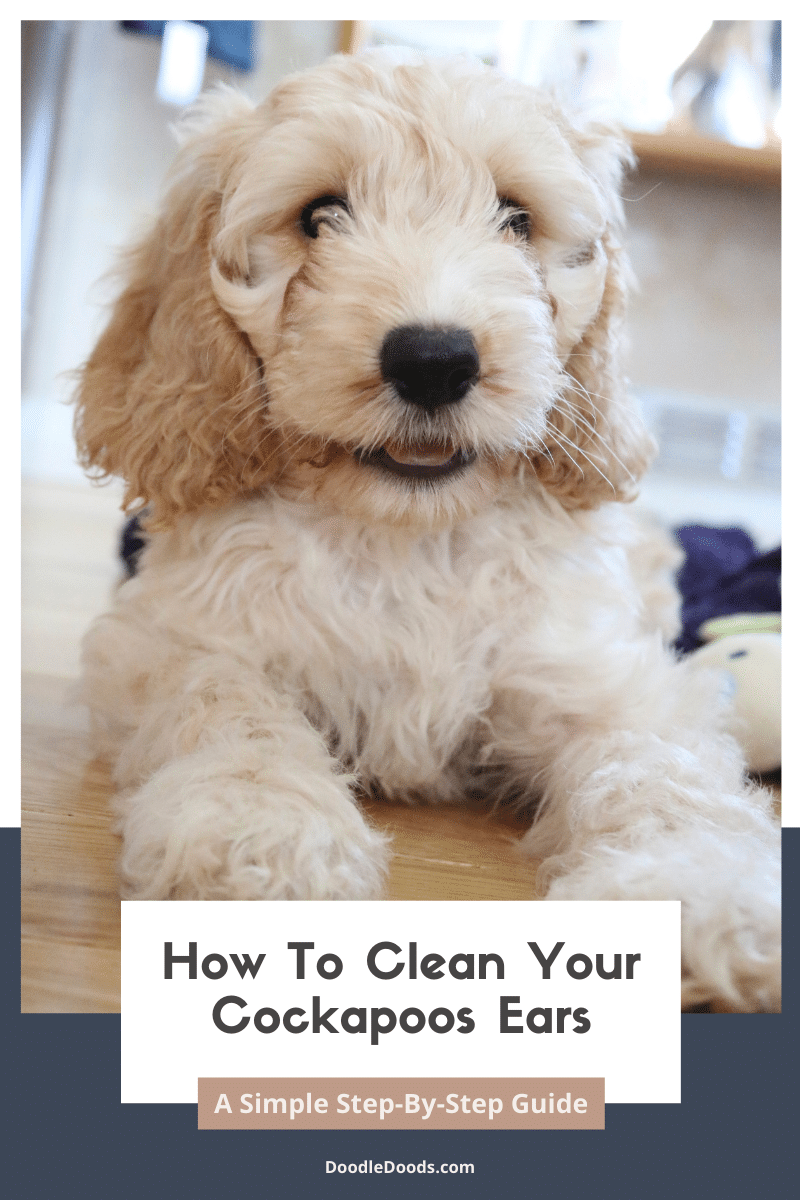
While most pet owners are comfortable looking after their pet’s coats, there’s a bit more involved in the grooming process than many realize. Take, for example, ears. Did you know that cleaning your Cockapoo’s ears is something you should be doing on a regular basis? If you didn’t, you do now! Here we’ll outline the importance of taking care of them and give you a rundown on how to your clean your Cockapoo’s ears. We’ll also provide some vet-approved product recommendations that other pet owners love. Enjoy 🙂
Table of Contents
- Why You Must Clean Your Cockapoo’s Ears
- What You’re Going To Need To Do It
- How Exactly To Clean Your Cockapoo’s Ears
- Preventing Ear Infections in Cockapoos
- Frequently Asked Questions About Cleaning A Cockapoo’s Ears
- Final Thoughts
Why You Must Clean Your Cockapoo’s Ears
The very first of the Doodles… the amazing Cockapoo combines all that the Cocker Spaniel has to offer with the intelligence and lower-shedding coat of the Poodle. However, both these dogs famously have those long-dangling ears that not only make them look super cute but served a very clear purpose in the dogs water-diving heritage days. While looking great and being functional, these have their issues, too.
For floppy-eared pups such as the Cockapoo, ear cleaning needs to be done regularly to prevent dirt and wax buildup. This can be a real problem for these delightful dogs. You see, while those ears of theirs are pretty effective at keeping dust and water out if anything does enter the ear canal, they are, unfortunately, also all too good at trapping it in there as well. This is made more of a problem because Doodles tend to inherit the Poodle’s notorious (among groomers, at least) narrow and very hairy ear canals! These all add to the problem, and they also make the cleaning process that much more difficult.
Furthermore, it’s not just dirt and dust that can become trapped there, but water as well. And given that both Poodles and Cocker Spaniels love spending time in the water, chances are this will happen at some point or other. This can actually be a far larger issue because some very nasty kinds of fungi and bacteria thrive in precisely the kinds of warm, moist conditions that this can create. This does mean that Cockapoos are particularly prone to developing ear infections. If you notice them suddenly frantically scratching or tilting their head, or if you see any redness, swelling, or discharge, this could be the issue.
What You’re Going To Need To Do It
Now, it goes without saying that cleaning your Cockapoo’s ears is going to be that much easier if you have the right stuff to hand:
You’ll need wipes for the outer part. It’s better to get ones specifically designed for dealing with pet ears so as to avoid inadvertently introducing harsh chemicals to your pup’s delicate skin. We particularly like Pet MD’s Aloe Vera & Eucalyptus Dog Ear Wipes. These can be used to gently remove dirt and wax while the soothing aloe vera eases sensitive skin, and the eucalyptus keeps everything smelling minty fresh. They are ideal for keeping your pup’s ears clean between baths, just use them and chuck them away.
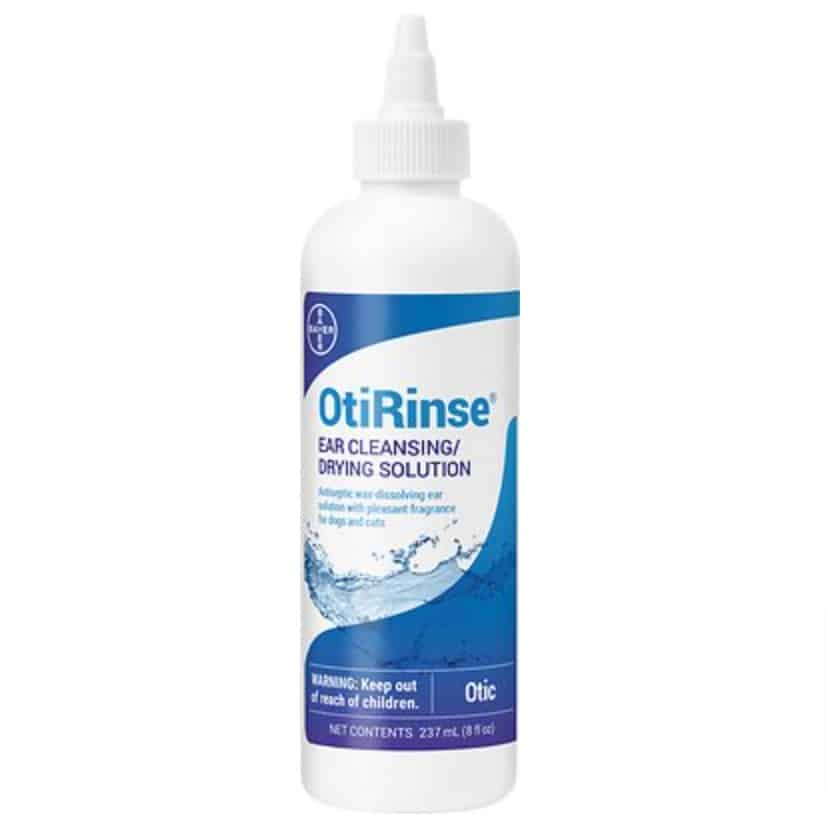
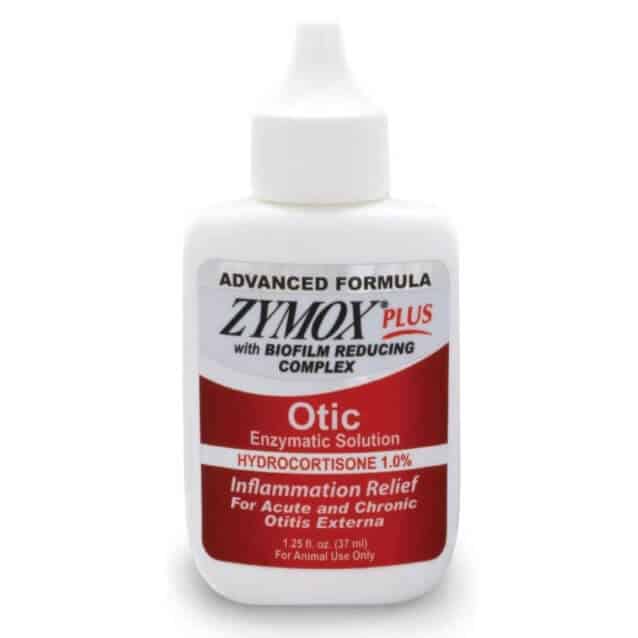
You’ll also need a non-toxic ear-cleaning solution that can be used to clean the ear canal. These break down waxy buildup while also removing other dirt and debris that has accumulated down in there. Some also contain ingredients that can quickly dry the ear out, while others have anti-bacterial and anti-fungal properties for both treating and preventing ear infections. For regular cleaning of even sensitive ears, OtiRinse Ear Cleansing/Drying Solution for Dogs is a firm favorite. However, if you want something that can help fight off mild infections, try Zymox Otic Pet Ear Treatment with Hydrocortisone.
NEVER be tempted to use Q tips in your pet’s ear. Not only does this often push dirt, debris, and ear wax even deeper into the ear canal, but were your pet to move suddenly while you had one of these in their ear, the consequences could be very severe indeed!
How Exactly To Clean Your Cockapoo’s Ears
Tackling this particularly delicate area can seem a little daunting to the uninitiated. Especially if your pup is not a fan of being manhandled or having you touch their ears. However, with a few simple steps, you should be able to make it as pain-free as possible for both you and your pet. Keep in mind that your dog will get used to having this done.
Ensure Your Dog Is Calm and Comfortable
If your pal is feeling in any way excited or anxious, you’re unlikely to get anywhere near their ears. So, before you set down to give them a cleaning, it’s good to take them on a nice long walk or play a little fetch out in the backyard. When your dog is feeling content and a little worn out, they should be far easier to manage. Give them a little cuddle, a few strokes. Pay special attention to their ears, touching them and scratching behind them. This will set the scene for what you are about to do next…
Apply The Ear-Cleaning Solution
Most of the time, you should only need to give the outer ear a clean, so you will be able to skip the next few steps. However, it’s good to give your pet’s ears a deeper clean with an internal solution every couple of weeks or so, depending on how active they are, how much swimming they do, and how grubby they tend to get. You’ll obviously need an ear-cleaning solution to do this, and having a towel to hand for mopping up is helpful too.
This type of cleaning can get a little messy, so if possible, it’s good to do it somewhere where clean up won’t be a massive issue – in the tub, in the yard, or the kitchen or laundry room, for instance. Once situated, gently pull your pet’s ear back and slightly up so you can see down the ear canal (if there isn’t too much hair in the way!) Squeeze some of the liquid into the ear. Do this slowly in case your pet moves their head sharply out of the way. Continue to apply the cleaner until it pools a little in the outer ear.
Gently Massage The Ear Canal
Keeping a firm hold of your dog’s head, with it still tipped slightly to the side, take some time to massage the base of their ear for a minute or two if you can. This will help loosen up any impacted wax or dirt in the ear canal. However, if your pal gets too upset and tries to forcefully move away, let them go. While it may be frustrating not to be able to do a proper ear clean, upsetting them at this stage will do more harm than good in the long run. They will remember this negative experience and will be less likely to let you anywhere near their ears in the future. Just let them calm down and give them a treat.
Let Your Cockapoo Shake Their Head
If you did manage to keep your hound still for those couple of minutes, you can then release them and let them do their thing. At this point, they will probably break away and spend a few minutes violently shaking their head and running about rubbing their head against the furniture. This is good because the force of them doing that will dislodge and expel anything trapped in their ears, as well as the solution itself.
Clean The Outer Part of the Ear
Once your pup has finished doing their little ear-cleaning dance, encourage them back over so you can clean up anything left behind. Again, gently pull back their ear and use a wipe to mop up any visible dirt, discharge, or solution from the outer part of the ear. Carefully work your way into the creases of your dog’s ear but be sure not to press down too firmly. The skin around the ear is incredibly sensitive and susceptible to damage. Be sure only to tackle what you can see. Don’t try to insert any part of the wipe into your pet’s ear canal – the solution, massaging, and shaking will have taken care of that.
Remove A Little of That Ear Hair
If you’ve got this far and your mutt isn’t grousing too much about all the attention you’re giving to their ears, you might want to attempt a little pruning to make life easier in the future. As you’re bound to know already, inner ear hair (Doodles really are fuzzy little buddies, aren’t they) adds to the issue of trapped dirt and wax in the ear. It also provides the perfect setup for nasty mites and other parasites that can cause all manner of problems. So while grooming your pup’s ear hair might seem a bit weird, it’s worth it.
However, the way in which you choose to do this can be a bit controversial. Many owners (and groomers and vets, too) swear by plucking. Yet some pet parents are a little worried this might be causing their dog pain and so opt for trimming instead. If you’re on the fence and would like to read up a little more on the subject, take a look at our dedicated article: Is Dog Ear Plucking Necessary With Doodles? Here you can also find helpful tips on both plucking and trimming if you’re new to dog ear care.
Preventing Ear Infections in Cockapoos
Now the very best way to prevent dirt and moisture-induced ear infections in your Doodle is to take time to regularly clean their ears. While, as we touched on above, you can likely get away with doing a thorough clean every couple of weeks or so, it’s good practice to get into the habit of wiping the outer part of your pet’s ear down a little more frequently than that.
A good time to check for dirt or worse is right after a walk, especially after a particularly mucky one or one that involves water in any way… swimming or even just rain. In this situation, your pal’s ears will look clean but don’t forget to make sure they are also nice and dry (don’t forget the nasty fungi and bacteria’s love of moisture!)
Frequently Asked Questions About Cleaning A Cockapoo’s Ears
While you may be tempted to use your ear cleaning products on your pup for the sake of efficiency, this is not a good idea. Chemicals that are fine for you might not work out too well for your hound. And you should never go anywhere near your pet with a Q-tip. Happily, though, there are plenty of dedicated canine products for you to choose from.
Parasites are a gruesome business, so if you suspect your pet is playing unwelcome host to a bunch of nasties, you’ll want to do something about it ASAP. Ear mites, being so tiny, are a little tougher to catch in the act than most. Look out for frantic scratching, signs of skin irritation, head shaking, a dark and waxy ear discharge, and an unpleasant odor.
If you’re hoping to keep your four-legged friend’s ears in tip-top shape, be sure to give them the attention they deserve. Always dry damp ears thoroughly and check for the presence of dirt and debris after walks. Go in for a deep-clean every with a liquid ear-cleaning solution every couple of weeks, and keep the hair in that area in firm check.
You might well have heard that petroleum jelly can be an excellent home remedy for getting rid of ear mites. Ideas on this are a little mixed, however. Our take is that vaseline can only be used on the outer part of the ear, but the issue typically goes a little deeper. So, in a pinch, it’s a good temporary solution until you are able to get your hands on something better.
Final Thoughts
So there you have it. If you’re finding that you’re having ongoing issues with your Cockapoos ears…mites, ear infections, and more, the simple solution is to be sure to keep them as clean and dry as you can. This really doesn’t have to be a big deal, and it’s made far easier with all the helpful products available on the market today. While you might run into some resistance from your pooch, the more you persist, the easier this task will become. And if you’re really struggling to get your dog to let you even try, we often find that a dollop of peanut butter for them to focus on goes a very long way!
Learn How to Care for Your Doodle Puppy!

Perfect for first-time Doodle parents, get ALL your questions answered, including questions new Doodle parents don’t even think to ask.
Plus, get $700 worth of Bonus Materials for FREE, including:- Doodle Parenthood Community and Support Group ($190 value)
- Doodle Puppy Growth Tracker ($20 value)
- EMERGENCY Cheatsheet: When To Call The Vet Immediately ($50 value)
- HELP! Button ($145 value)
- And SO MUCH MORE!