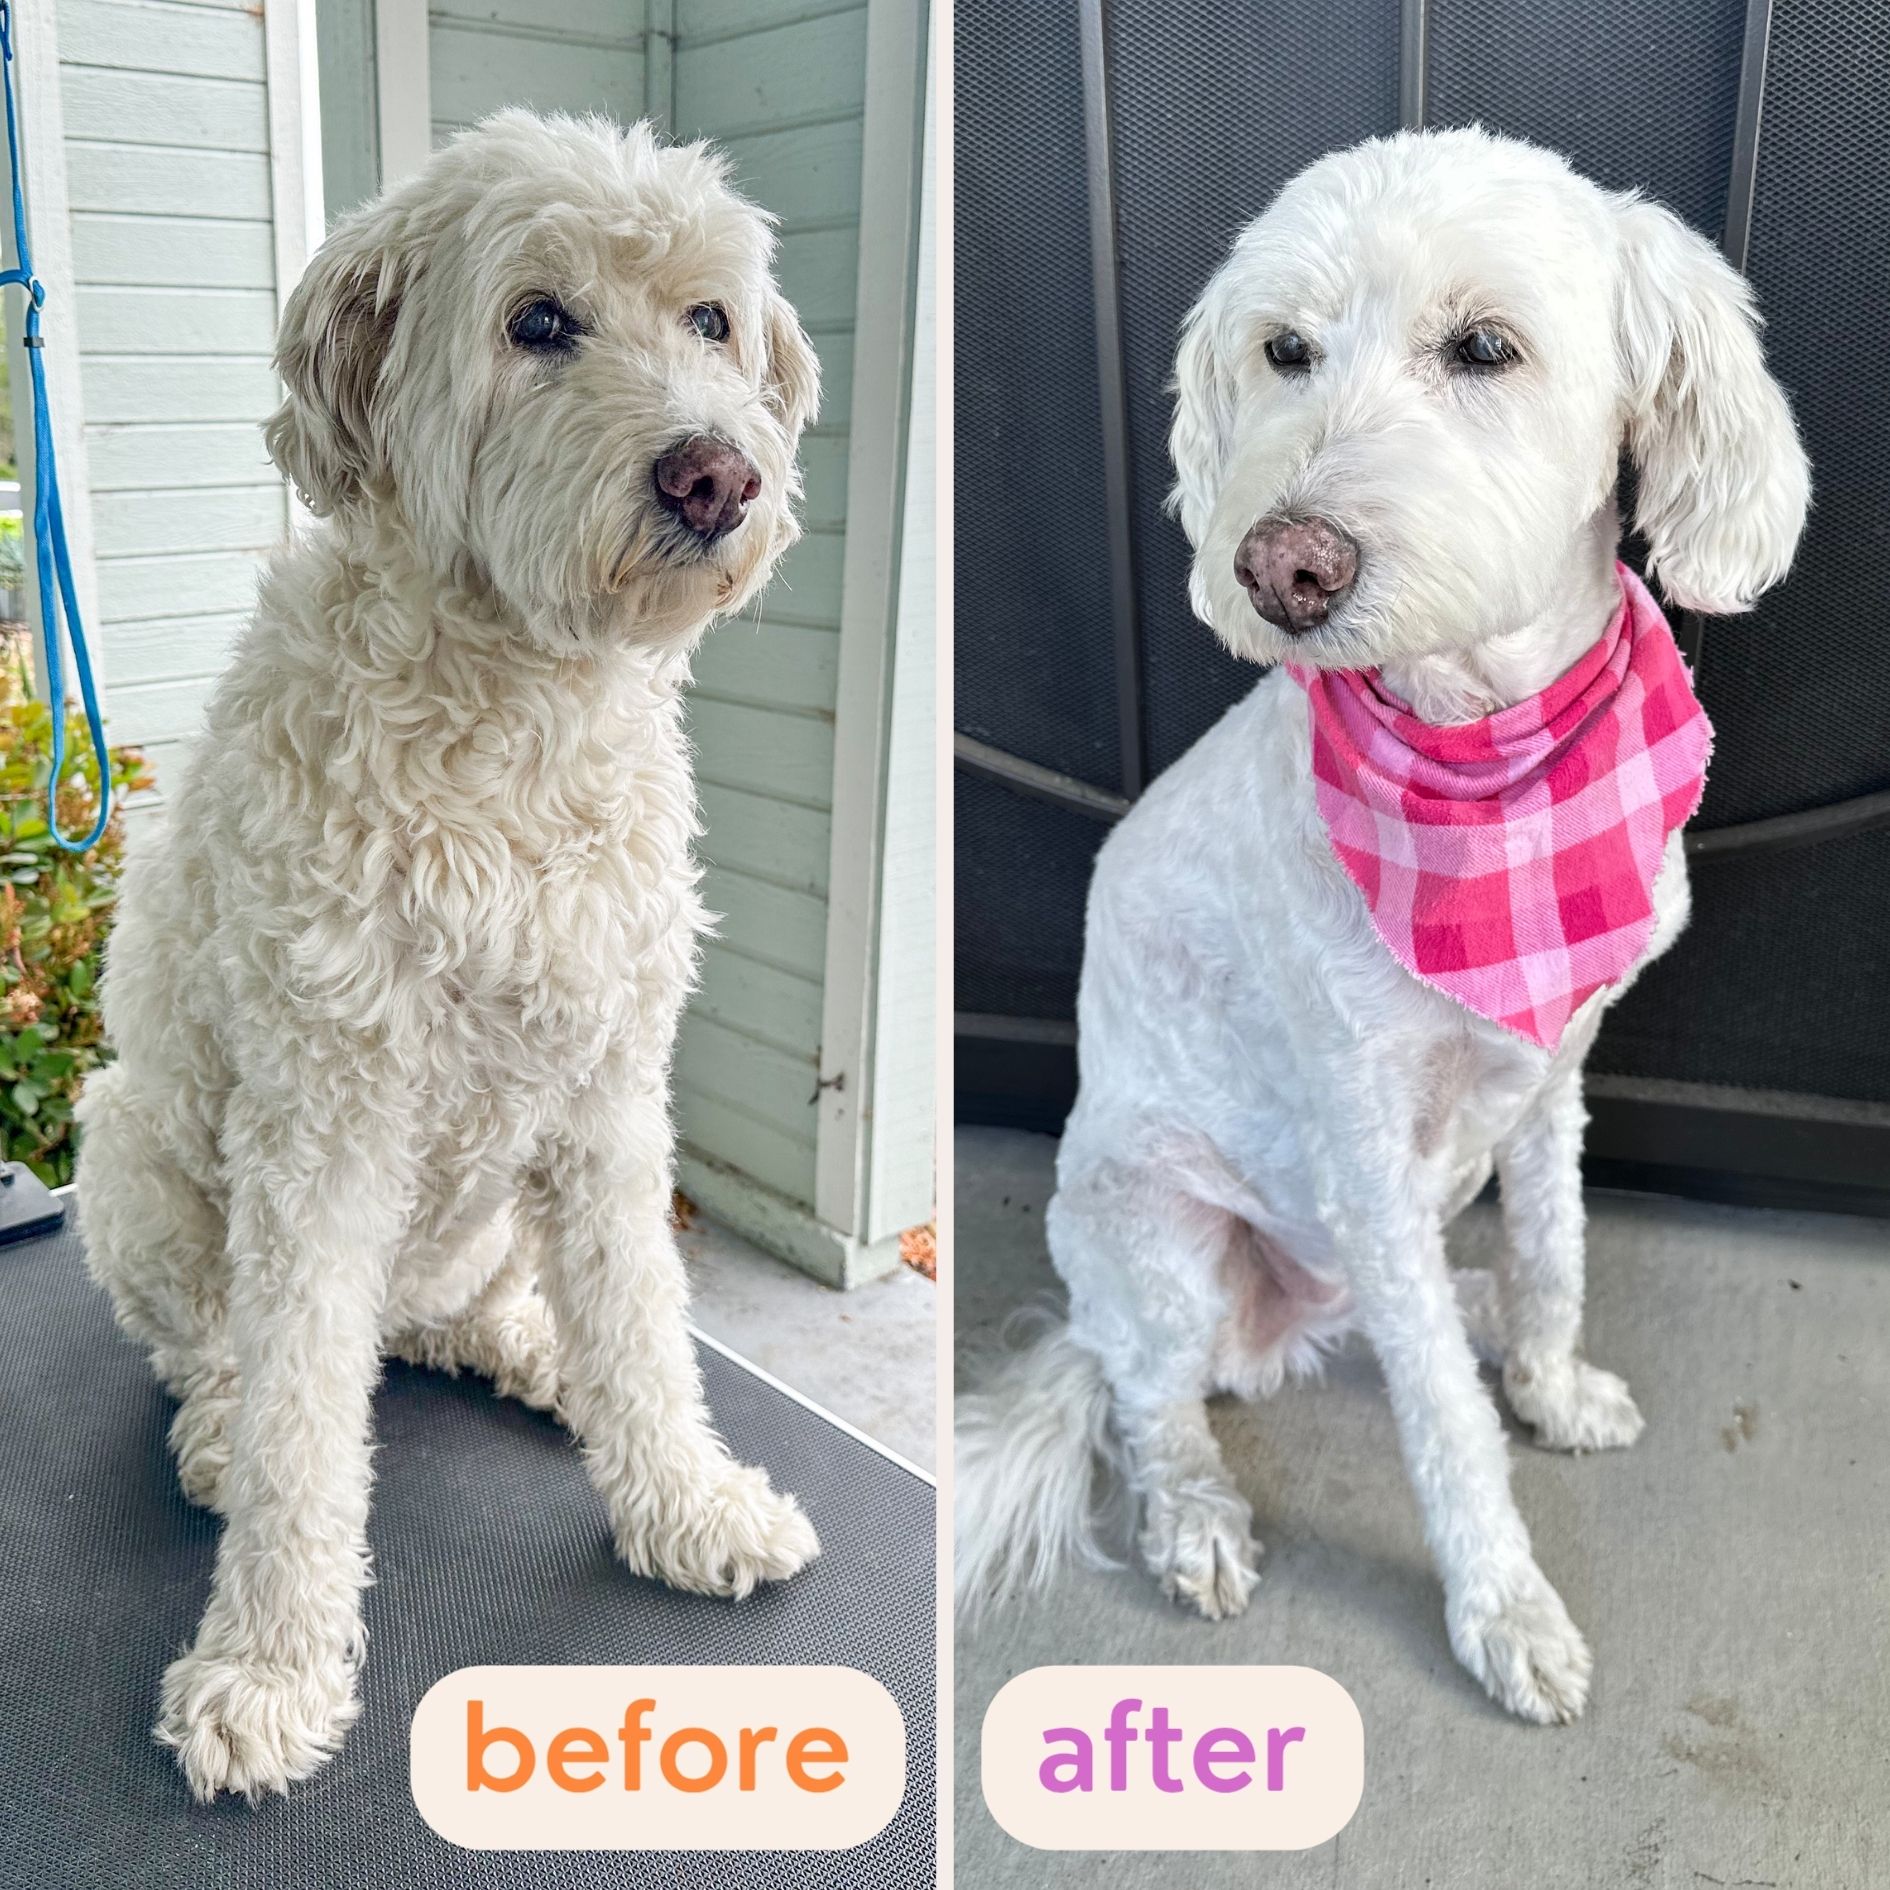
Hey Doods! Today Chloe and I are going to show you how to shave the entire top-half of your dog, including the back, back of the neck, chest, and upper hind legs.
By the way, this video was shot in first person perspective, so you can see what the groom looks like from your point of view.
This video is just one part of a series on do-it-yourself full-body dog grooming.
Disclaimer: I am not a professional dog groomer – I am a self-taught groomer who has been doing this exact grooming process with my goldendoodle Chloe since 2014. Some of my methods might be unconventional, but they get the job done. If you are uncomfortable with any part of the DIY grooming process, please hire a professional groomer in your area.
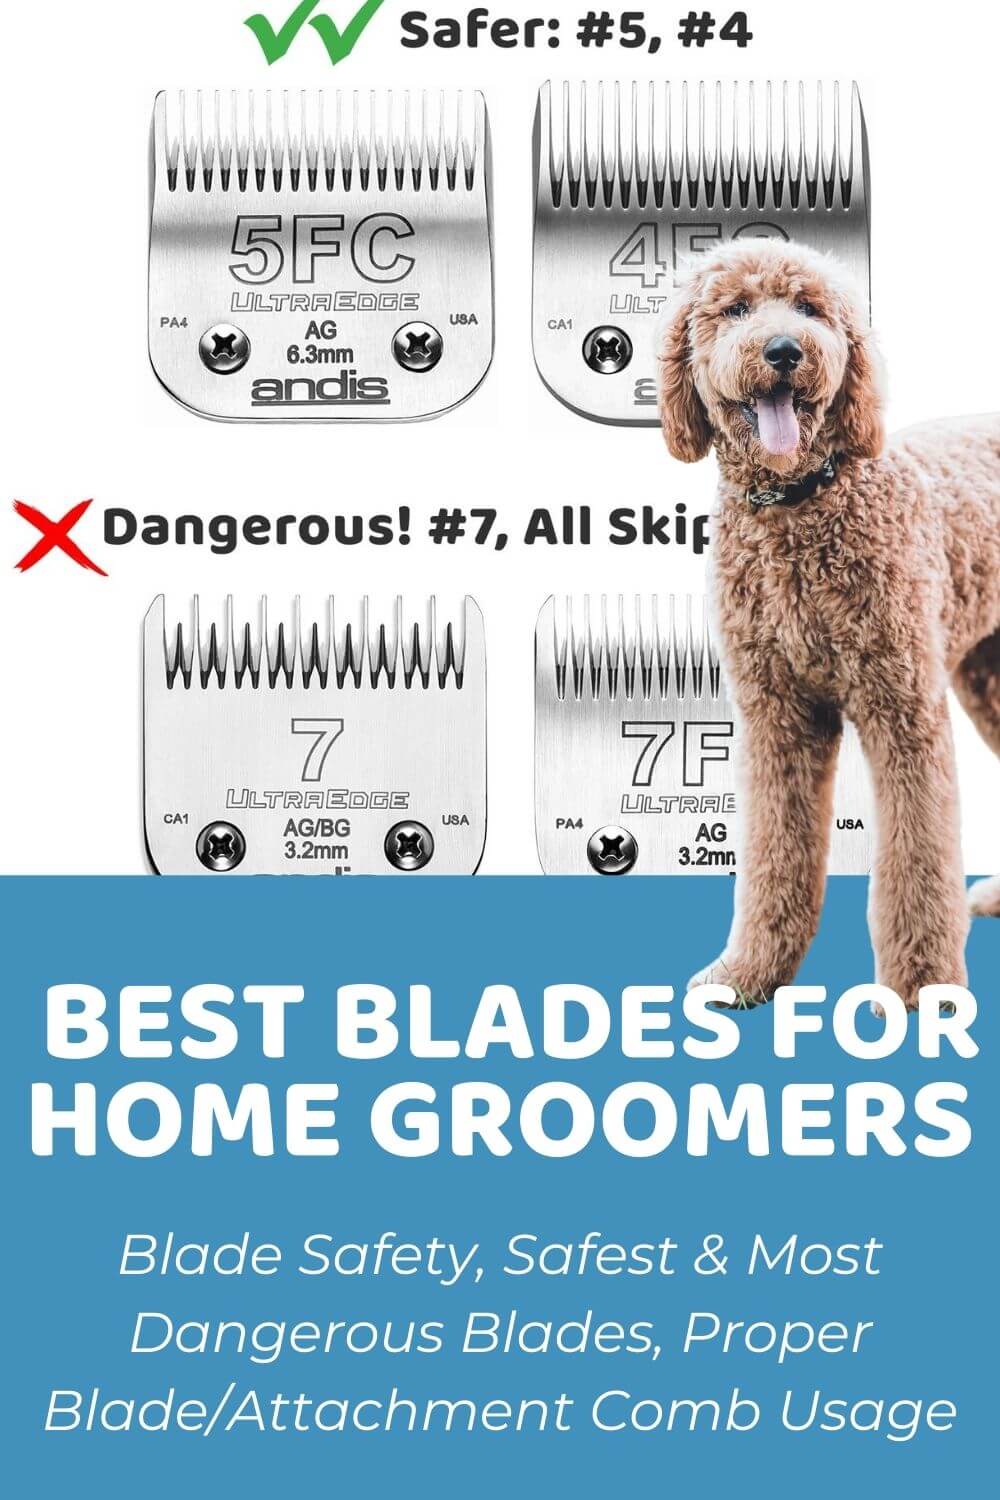
The Blade
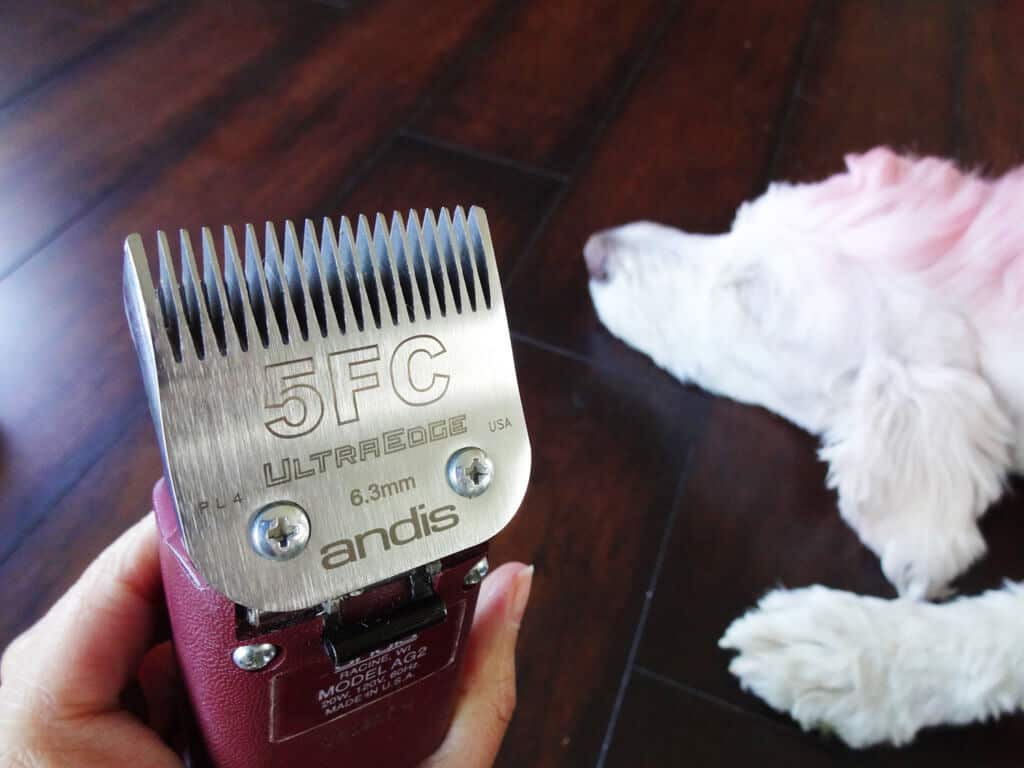
The first thing I’ll mention is that I personally like to use a #5 all over the body which cuts the hair to about 1/4 of an inch. But you can certainly cut to any length you want. Here’s a link to the blade if you want to check it out.
Before I start the actual grooming, I first prepare the clipper blade by applying clipper oil directly to it. I turn on the clipper for a split second to distribute the oil, and then I wipe off the excess oil with a dry cloth.
[Coming soon] I actually have another video on clipper blade cleaning and maintenance for before, during, and after a groom, so be sure to check that video out, too.
The Clippers
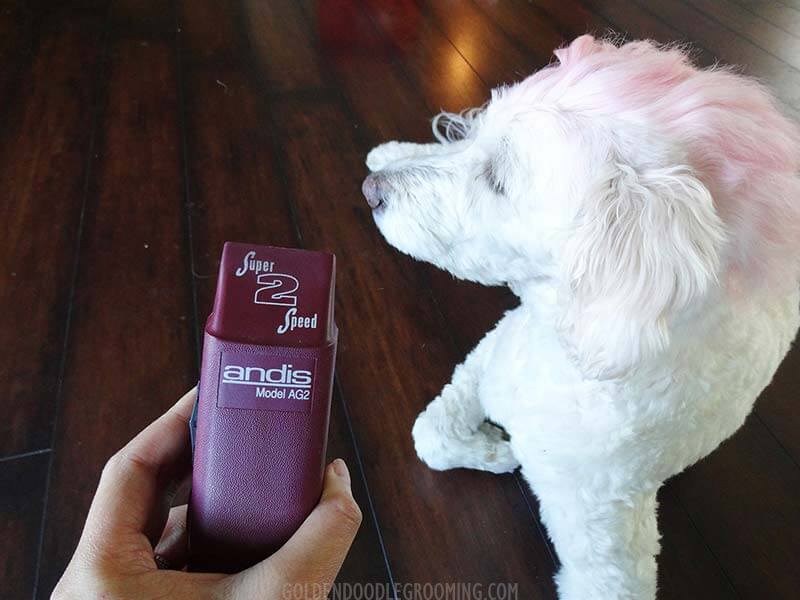
For the areas I’ll be grooming today (back, back of the neck, chest, and upper hind legs), I use the highest speed on the clippers, since the hair can be really thick, possibly curly, and possibly matted. I love the Andis AGC Super 2-Speed Professional Animal Clipper (read my review) because the #2 speed is like slicing a hot knife through butter. Plus, I’ve owned this specific clipper for about 7 years and it’s still going strong. The model I have has been discontinued but here’s a link to comparable clippers if you want to check it out.
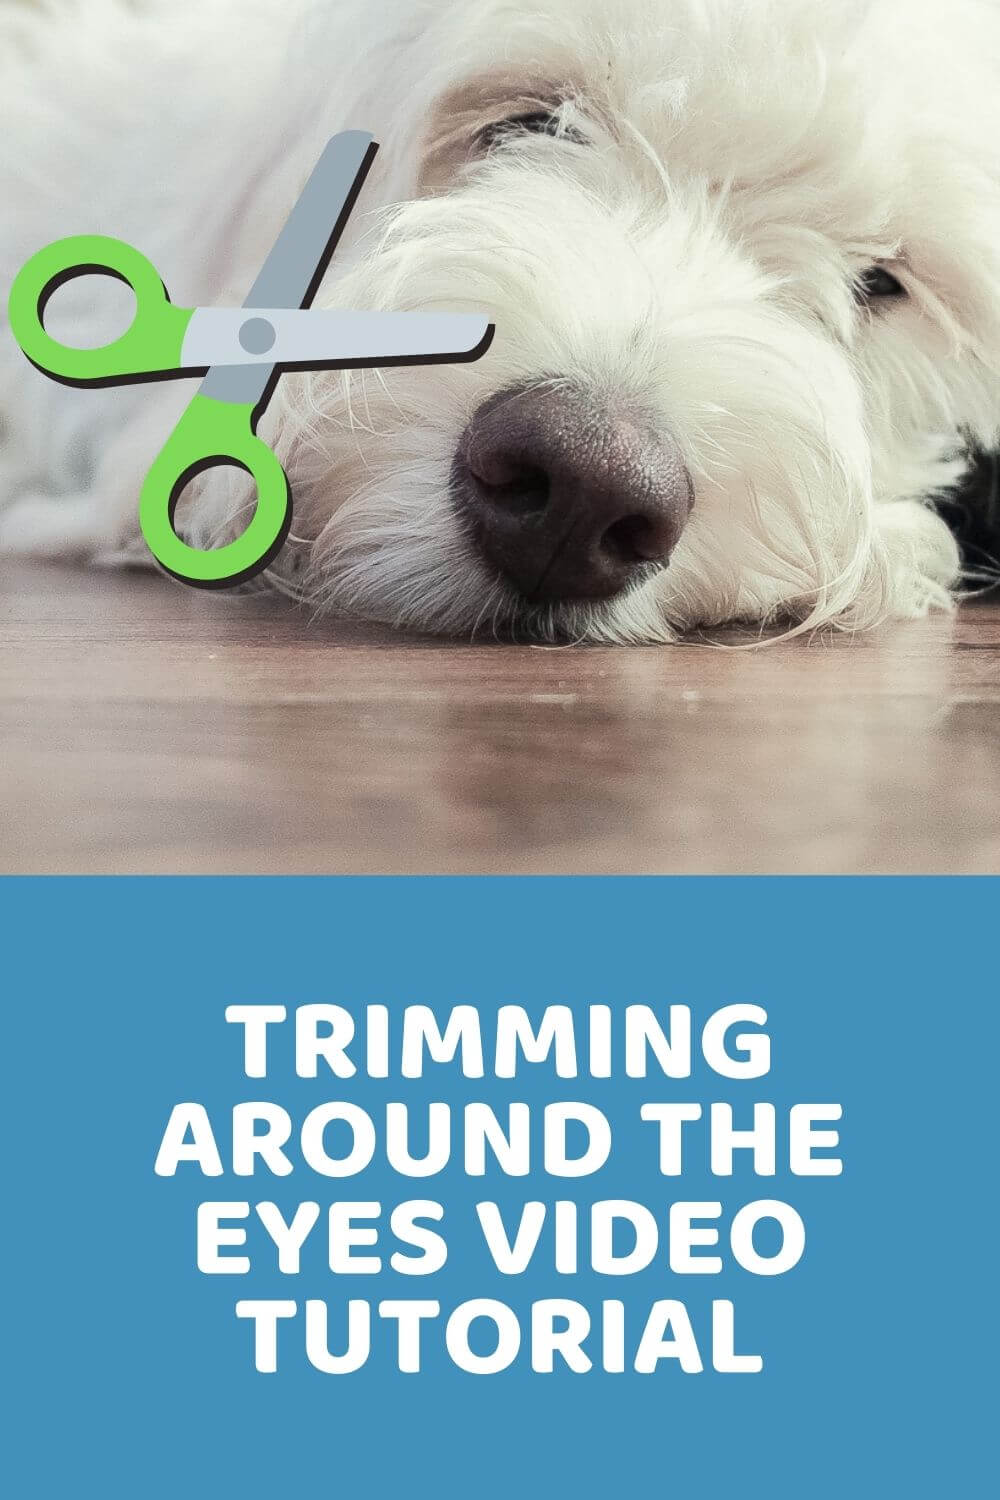
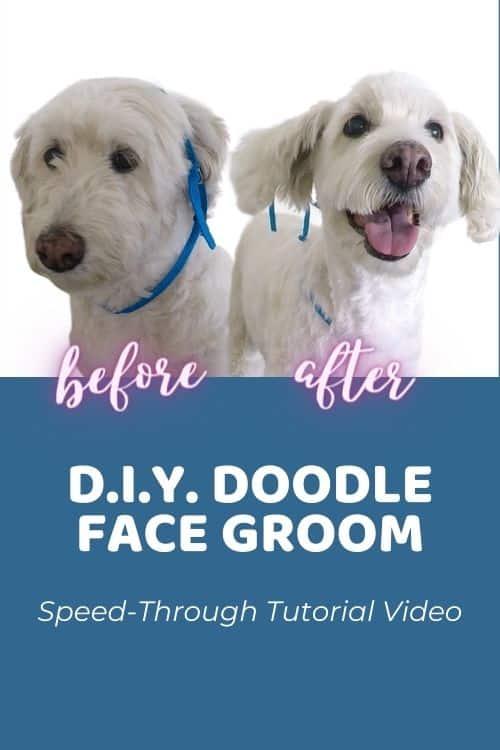
See Also:
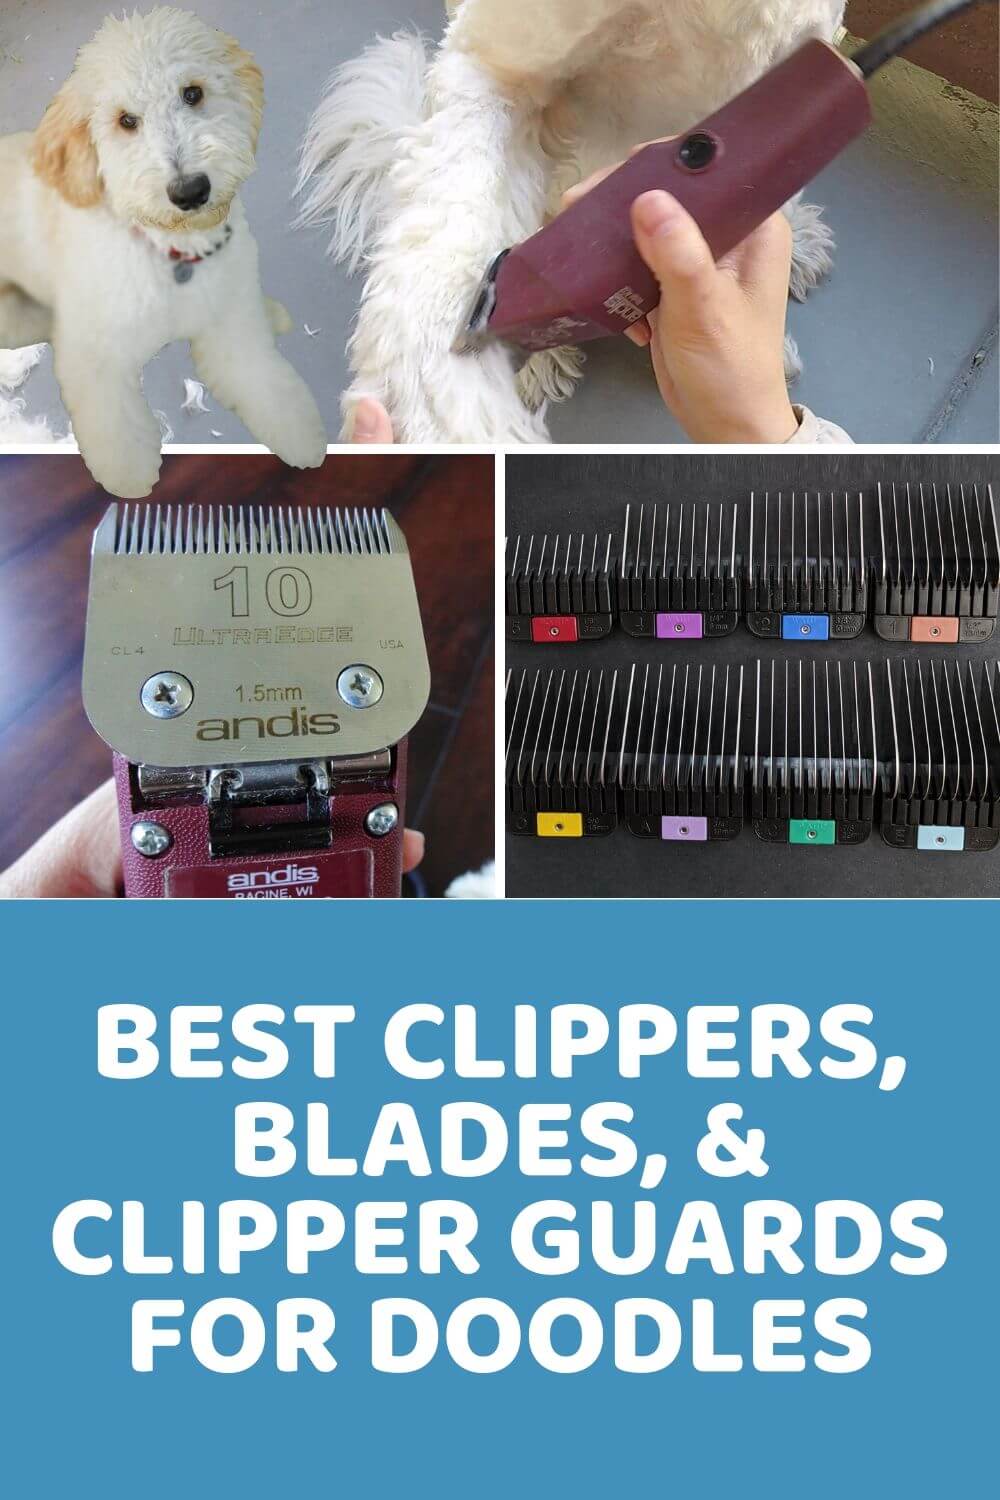
(Click the image)
Starting the Groom
At first, you’re really just going to be removing all the bulk. Make sure you’re shaving with the grain of the hair. Doing this will help the coat look nice and smooth instead of choppy. By the way, if after the first pass the coat looks too choppy for your taste, you can always take a second or third pass at it with the clippers to fine tune the cut and get the desired smoothness.
Shaving the Back
When shaving the back, make sure you don’t go too far down on the sides just yet, since the hair grows in a slightly different direction. If you shave straight down on the sides like you do on the back, your dog might end up looking like he has racing stripes due to the inconsistency of the length of hair.
If you run into loose skin while trying to shave, simply pull the skin tight in that area to allow the clipper to glide through better.
When you run into matted hair, you will know because your clippers will have a hard time getting through it. When this happens, I basically just “chisel” away at it with the clippers until I get through the mat.
Shaving the Sides
When it comes time to shave the dog’s sides, be sure to shave at a downward angle with the grain of the hair. As mentioned before, If you shave straight on the sides like you do on the back, your dog might end up looking like he has racing stripes.
Another tip for when running into loose skin is to pull the hair outward before running over it with the clippers. Seems like this always happens when I get to the legs.
When I get to the loose flap of skin between the hind legs and belly, I like to put my hand behind the flap of skin to support it so the clippers can actually touch the hair there.
Shaving the Chest
When you get to the chest and legs, the direction of the hair starts to point downward. So, shave with the grain of the hair downward.
And that is how I shave the entire top-half of Chloe.
Thanks so much for watching. If you liked this video or found it valuable, please be sure to give us a thumbs up and subscribe to our YouTube channel!
Want to Learn
DIY Doodle Grooming?
 “Every concern and question I had now has clear, practical solutions.” – Paula D.
“These lessons have provided tremendous amounts of information.” – Steve B.
“Buy the course and complain about how easy it is!” – Chris S.
Learn How To Groom Your Doodle At Home…
Safely…And Without Confusion:
The information on this page is for informational purposes only. It is not intended to be a substitute for professional groomer advice. Always seek the advice of your groomer, veterinarian, or other qualified animal health provider with any questions you may have.
[…] DIY Doodle Grooming: Top-Half of the Body […]
May 17, 2019 at 8:17 pm