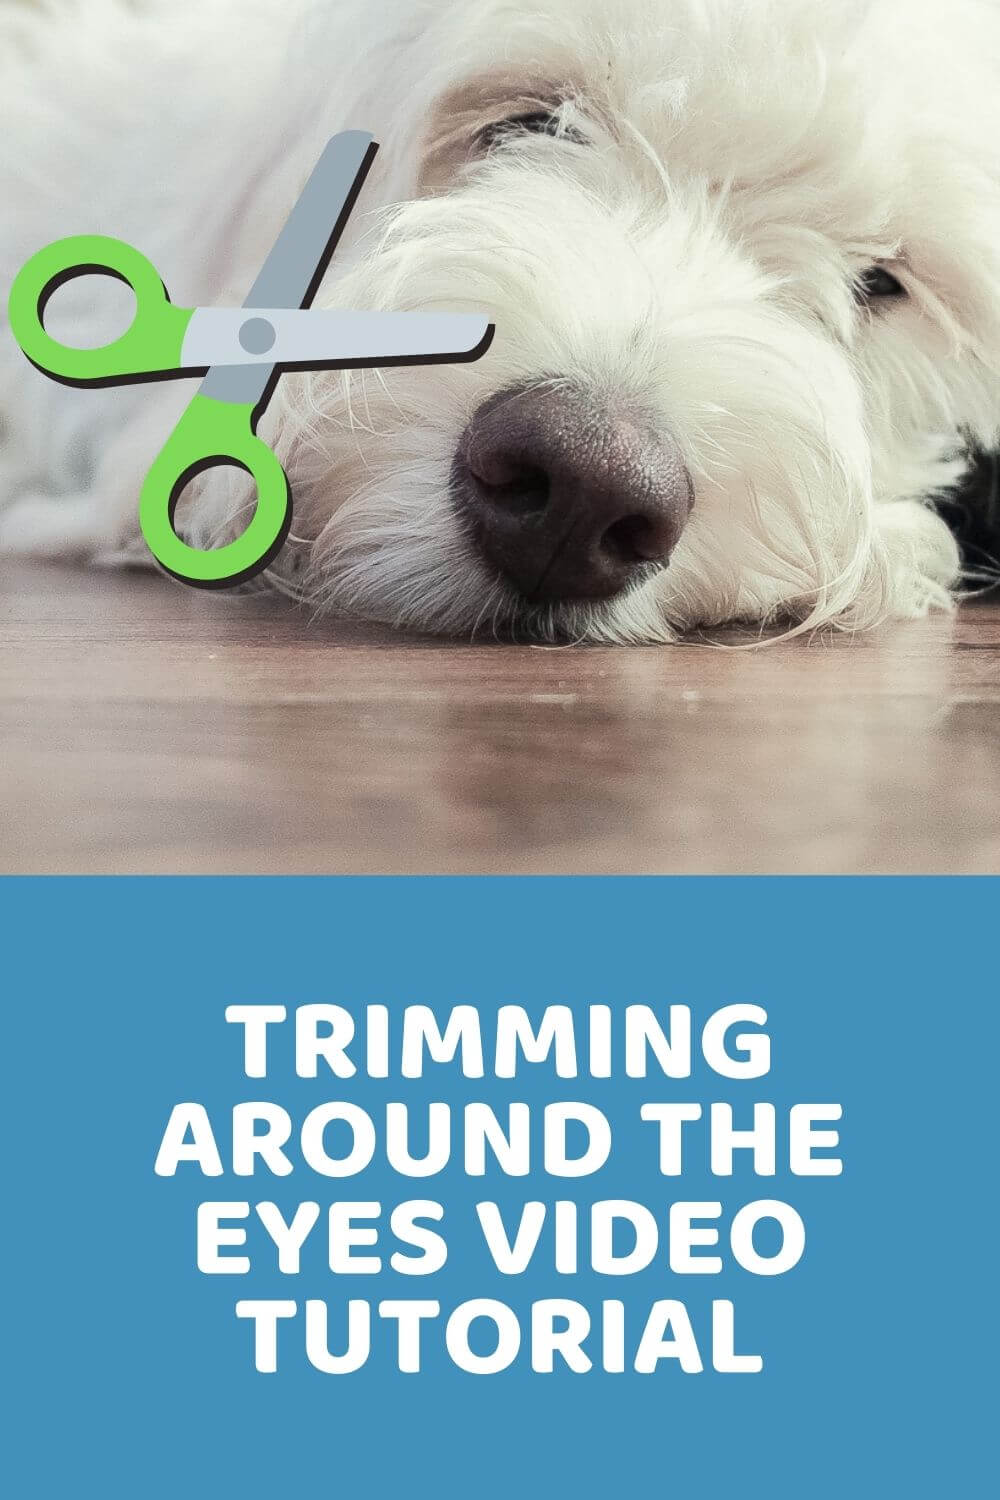
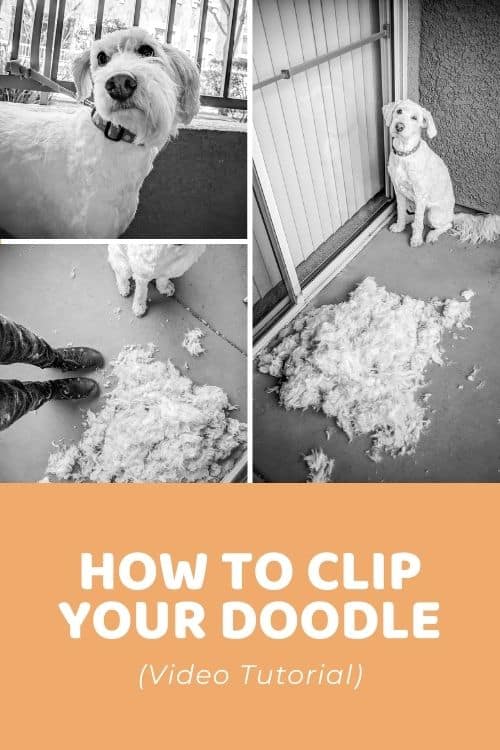
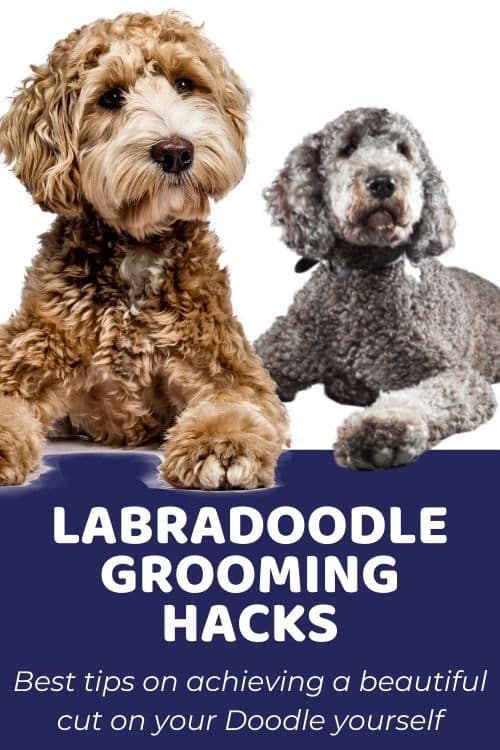
Doodles are well-known for having beautiful, long locks of hair. But if your Dood has started running into you (or the walls), take a good look at their face. Could it be that their long, luscious locks are blocking their vision?
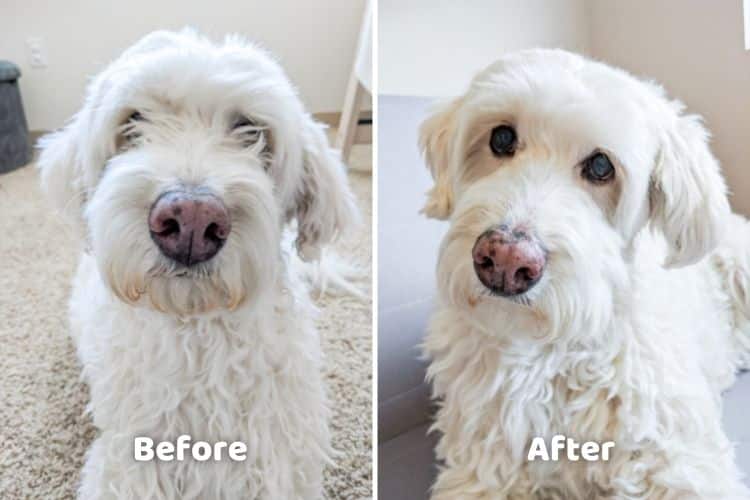
If your Dood’s face looks anything like the ‘before’ pic below, now would be a great time to learn how to do some maintenance grooming. Below I will walk you through how to trim those pesky hairs around your Doodle’s eyes yourself. That way you can get your Doodle looking and seeing their best again, without waiting days or weeks to take a trip to the groomer. And don’t worry – it’s super easy and doesn’t take much effort, skill, or time!
Tools Needed for Trimming
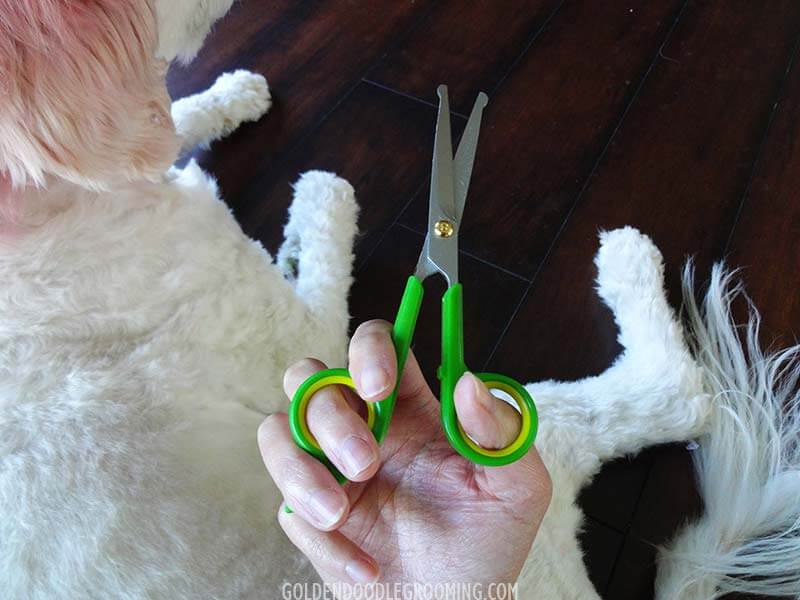
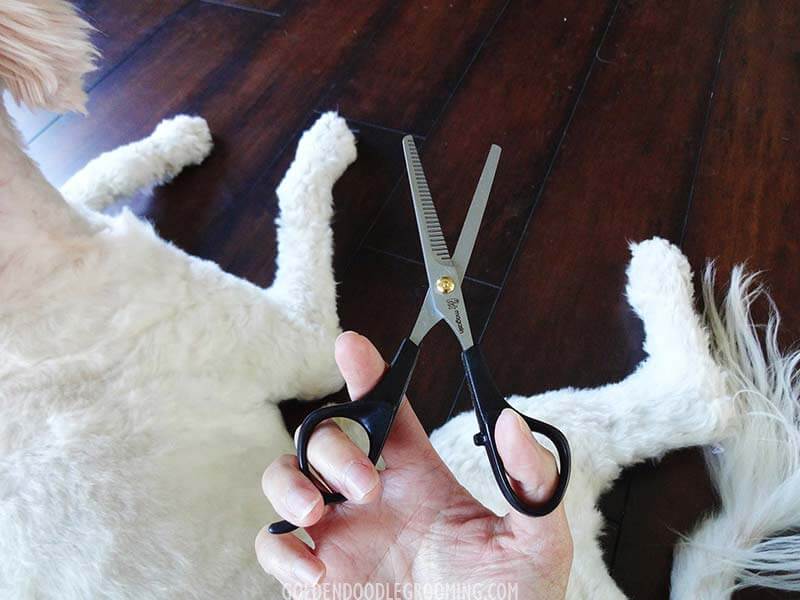
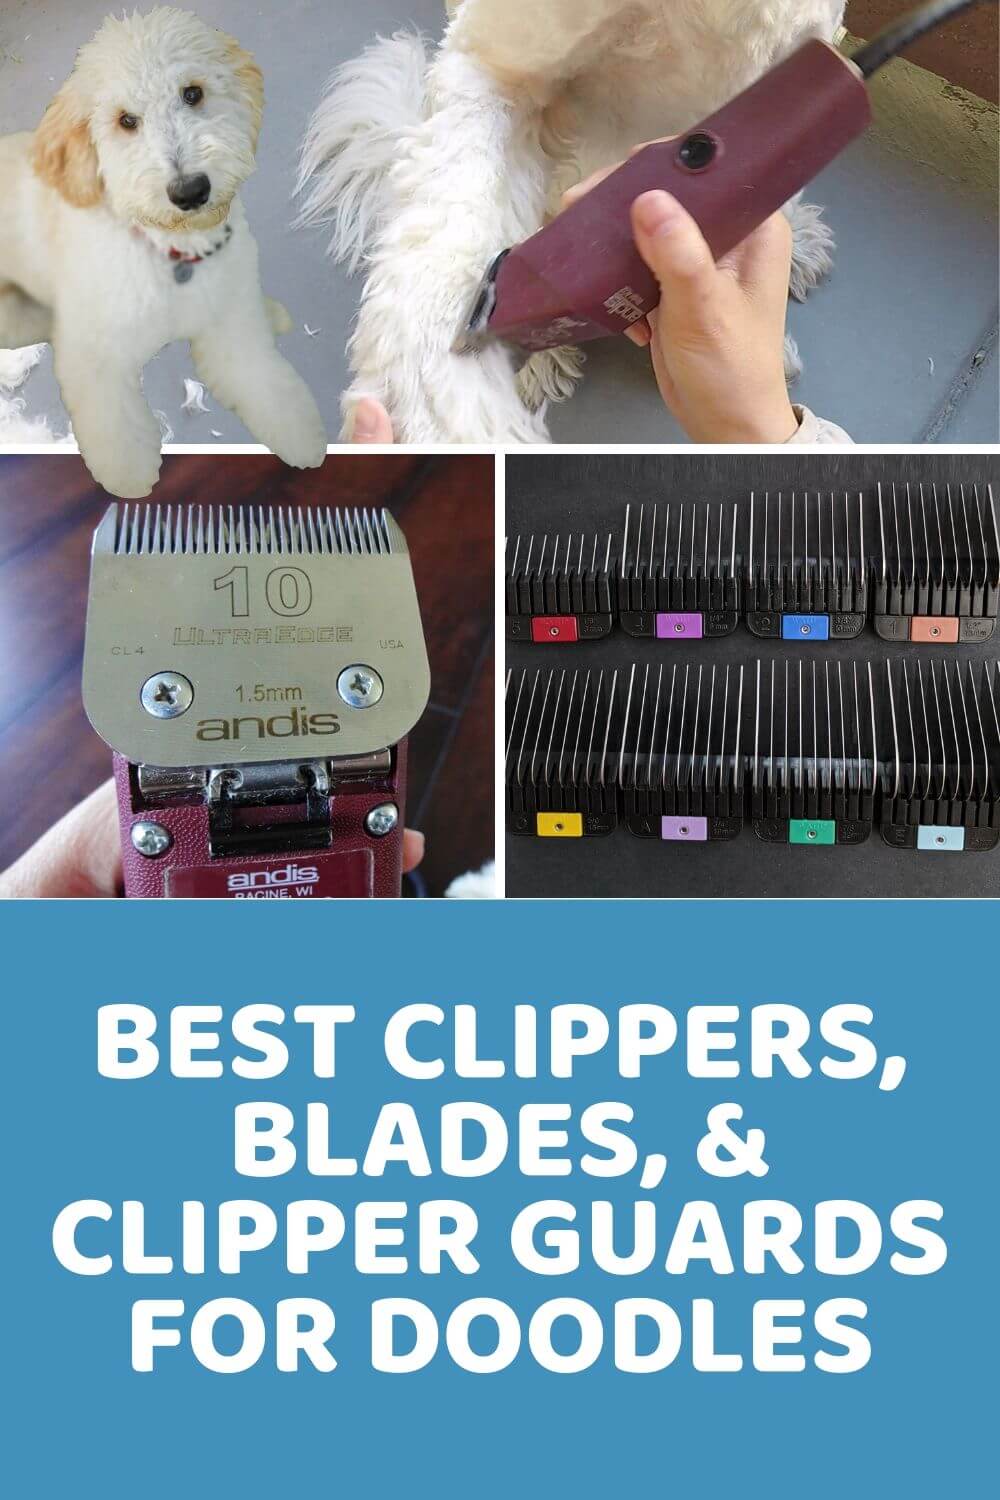
First things first: you will need a few items to get the job done. Obviously you will need some kind of cutting device. I’ll be the first to admit that in the past I would use any scissors I could find lying around the house to cut Chloe’s hair. And you can certainly do that, but I would like to recommend using dedicated dog grooming scissors. The ones seen just below are the ones I currently use, and have been using for the past 7 years. These safety scissors are especially wonderful because of their rounded tips which lower the risk of injuring your dog during grooming.
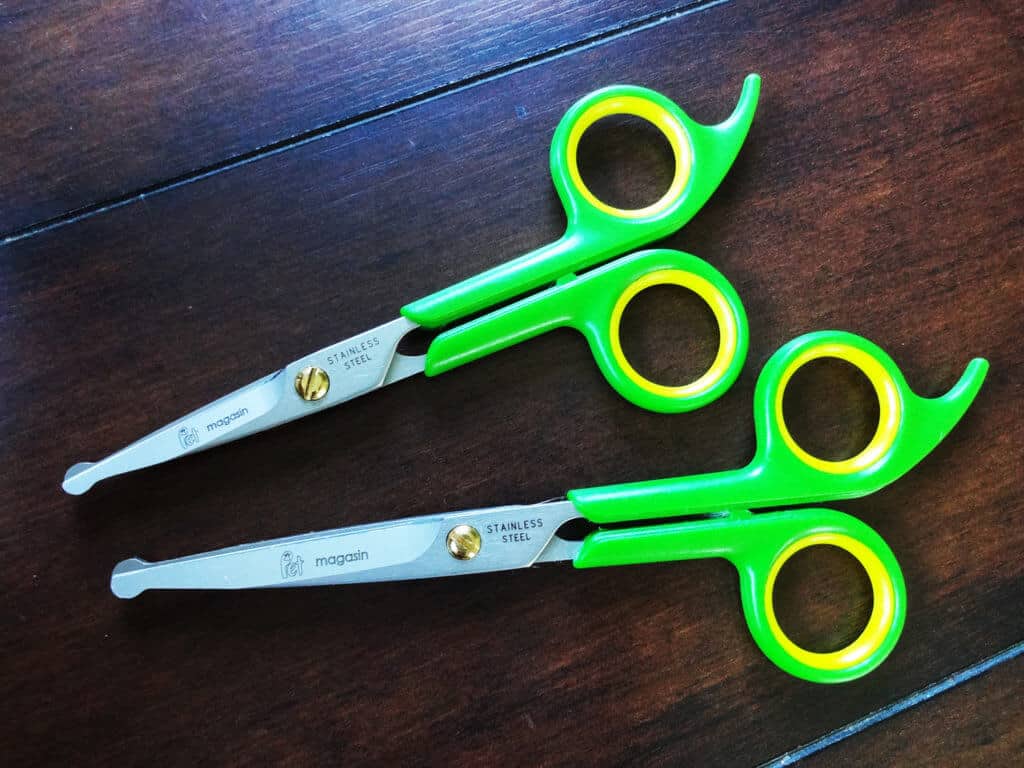
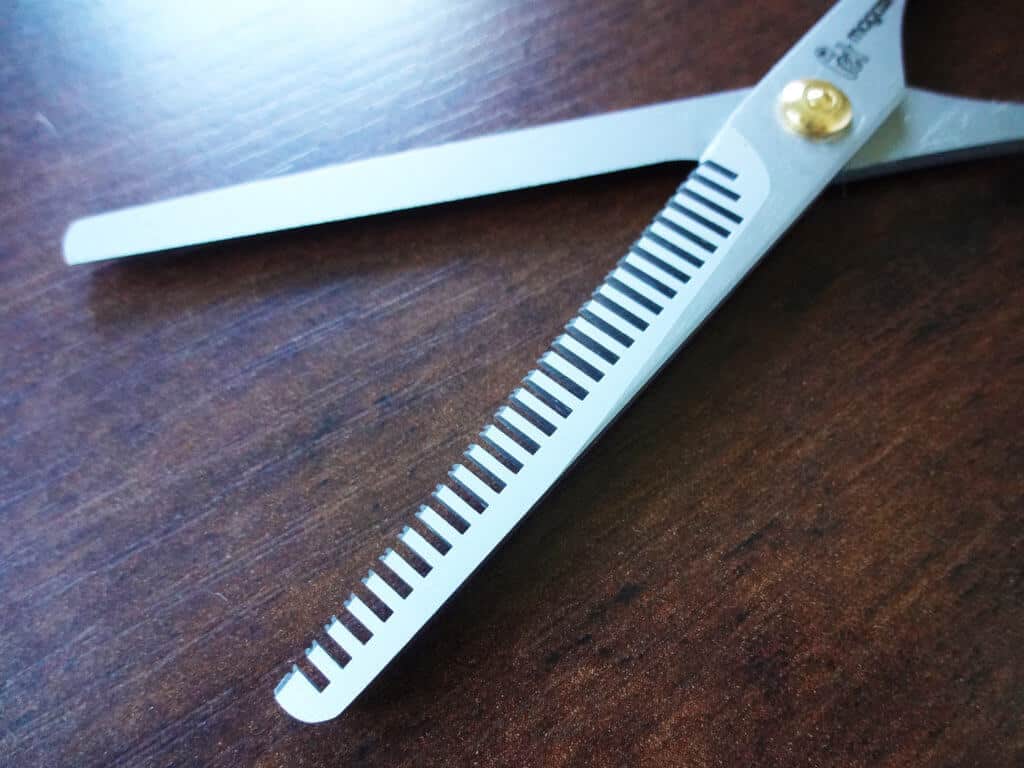
In the video demo below, I also use a pair of thinning shears. Thinning shears are great for blending the harsh cut lines created by the grooming scissors. Thinning shears are optional, but they just help to make the trim look extra natural and professional.
How to Trim the Hair Around the Eyes
You can follow along by watching the video below:
To start, make sure your pup’s head is stabilized and that he is calm before attempting to cut the hair.
- Use your fingers or a comb to pull the nose bridge hairs upward.
- Use the scissors to carefully cut the hairs at an upward diagonal angle – cutting up and inward toward the middle of the forehead. Do this on both sides of the face, following a triangle shape.
- When the hairs are cut down to the desired length, you can now take your thinning shears to blend the hairs together. I’ve found that the best way to achieve a natural blended look is to cut some of the shorter hairs and some of the longer hairs at the same time. Do this over and over while gradually moving the thinning shears around the face, and be sure to snip only once in any given spot. (Be sure to watch the video above to see what I mean.)
- Use a comb to see if you missed any hair, to pull the loose hairs out, and to clean up the trim.
Also be sure to give your Dood plenty of pets and love during the grooming session to keep them calm and feeling safe!
Learn How to Stop Shavedowns For Good & Keep Matting At Bay!
Discover the PROPER Doodle coat care routine that gets your pup to cooperate…helps you nip tangles in the bud…and gets groomers to do exactly what you want.
Plus, get $520 worth of Bonus Materials for FREE, including:- Doodle Parenthood Community and Support Group ($190 value)
- Custom Doodle Coat Care Plan Lifetime Access ($75 value)
- Easy to Use Doodle Grooming Tracker ($20 value)
- And MORE!
The information on this page is for informational purposes only. It is not intended to be a substitute for professional groomer advice. Always seek the advice of your groomer, veterinarian, or other qualified animal health provider with any questions you may have.

Can I use any clipper?
April 4, 2020 at 2:01 amI watched a video where they used Clipper and Scissor. So you can use the best clipper.
August 12, 2020 at 12:41 am